Refer to this Procedure on How to Create EaseUS Todo Backup Emergency Disk (USB)
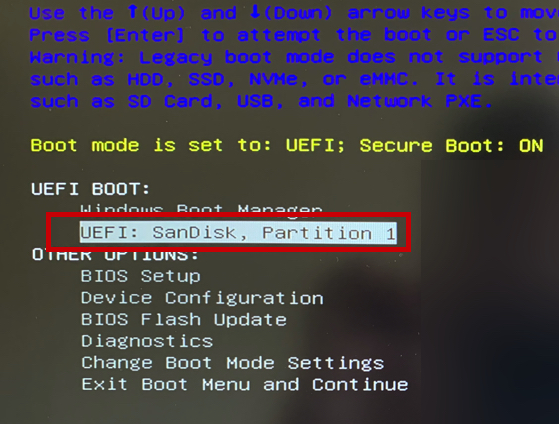
1. Plug-in the USB Flash Drive
> Power ON your Computer
> Immediately press Press F12 or F10 key repeatedly for Boot Menu
> Select the USB Drive and press Enter
2. EaseUS Todo Backup is initializing…
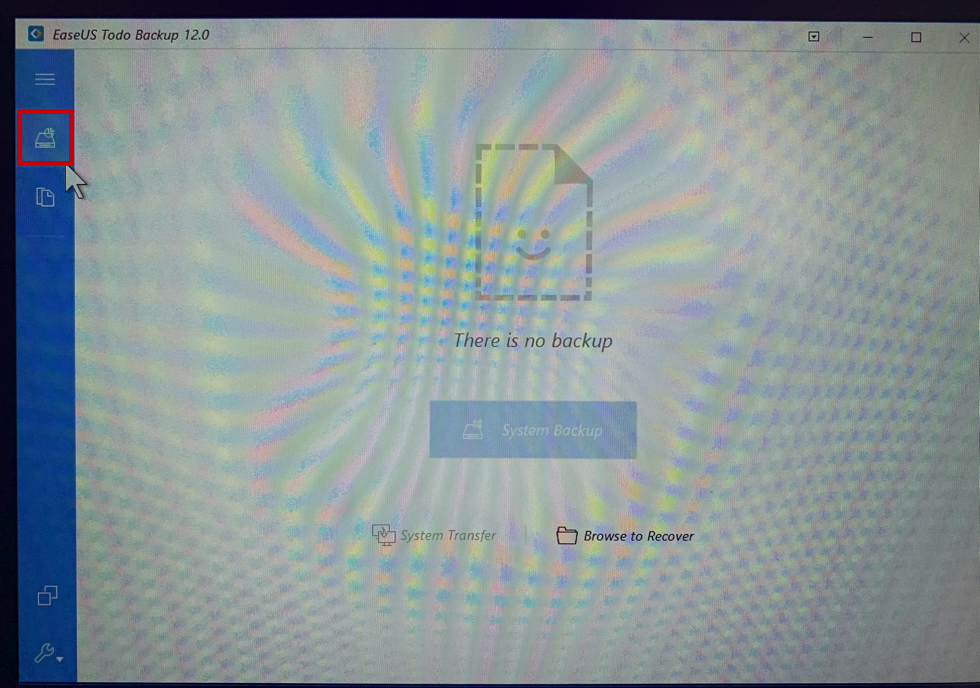
3. Click Backup Tab
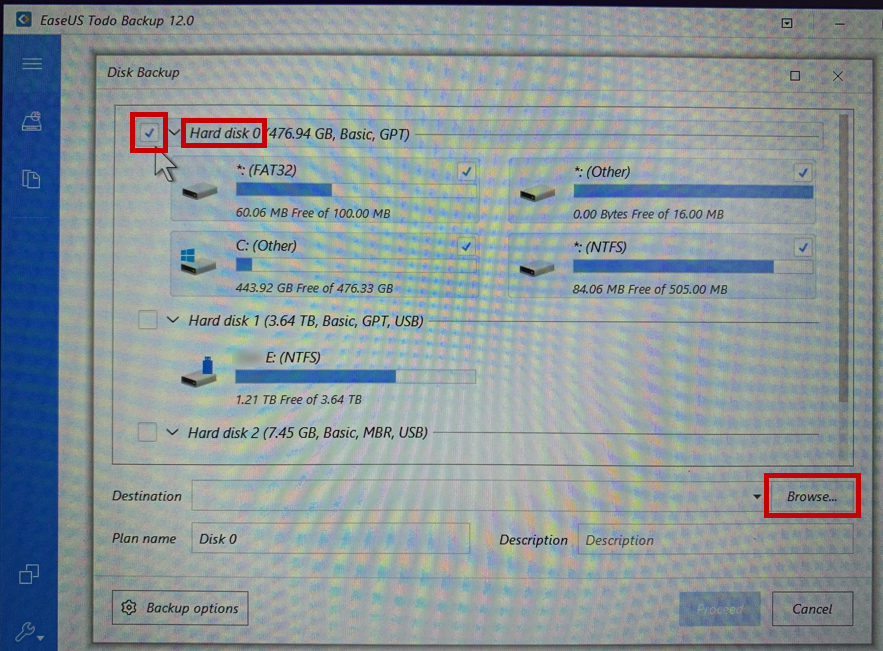
4. Select the Hard Drive you want to Backup
> By default Hard Disk 0 is where your OS(Operating System) is located.
> Tick the box Hard Disk 0 > It will select all necessary partitions
> Click Browse to set the destination
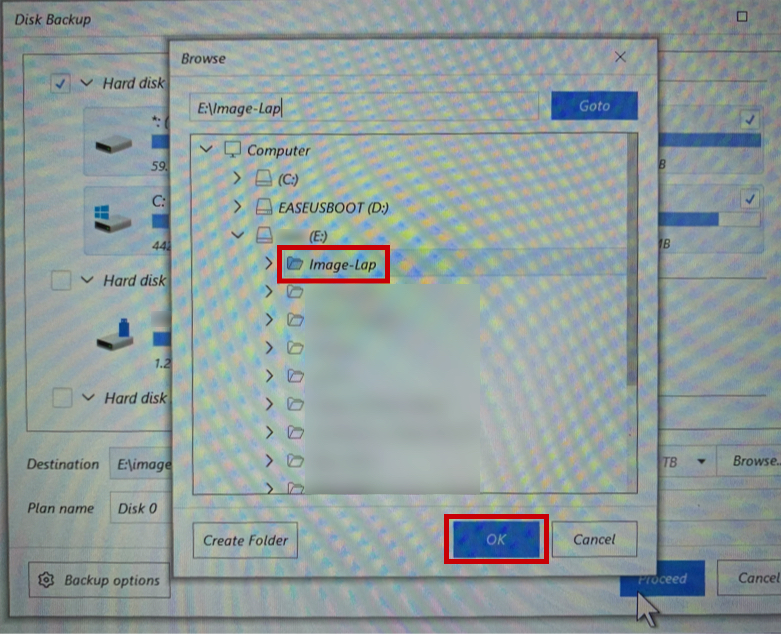
5. I this Example, we are using Portable Hard Disk (E:) to save the Image Backup
> Select or Create New Folder where you want to save the Image Backup
> Click OK
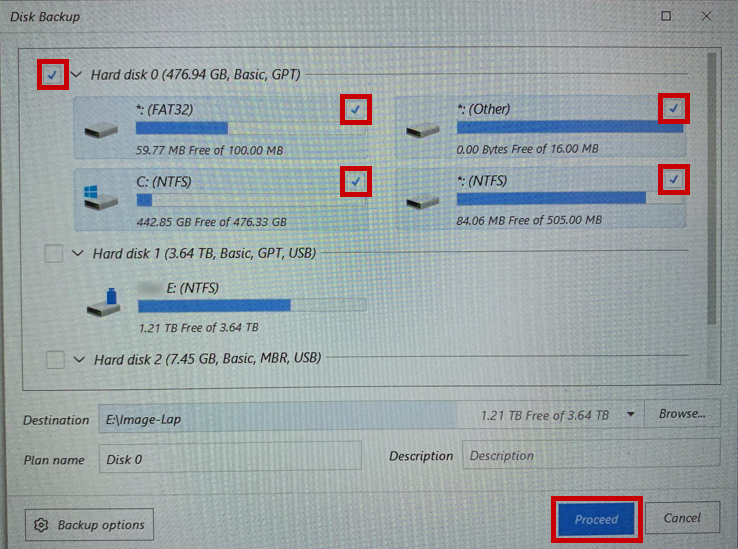
6. Double check all the information > Click Proceed
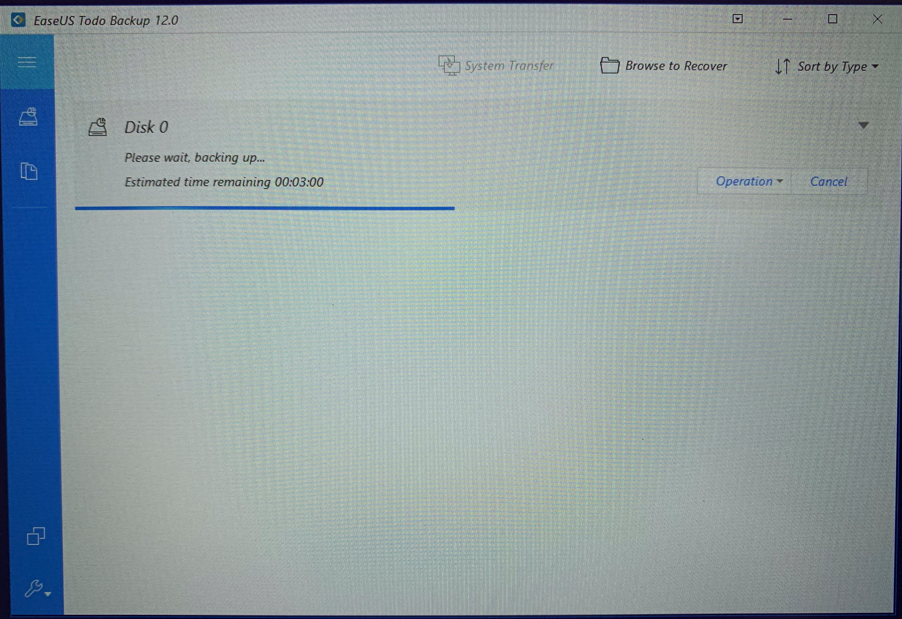
7. Creating Image Backup is in progress (normally takes around 10 mins. or more)
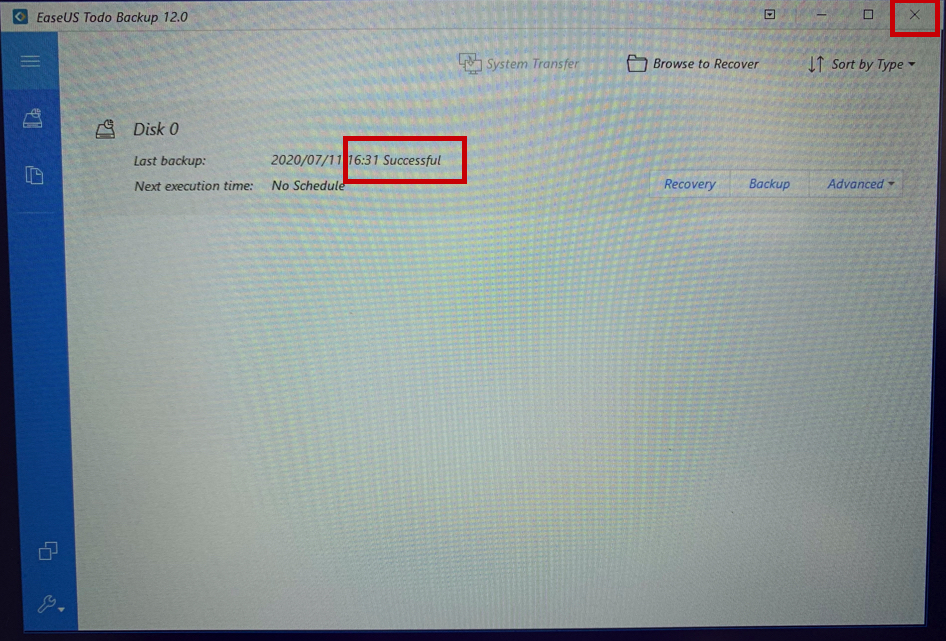
8. Creating Image Backup is Successful
> Click the X to Quit the Application
> Your PC will restart
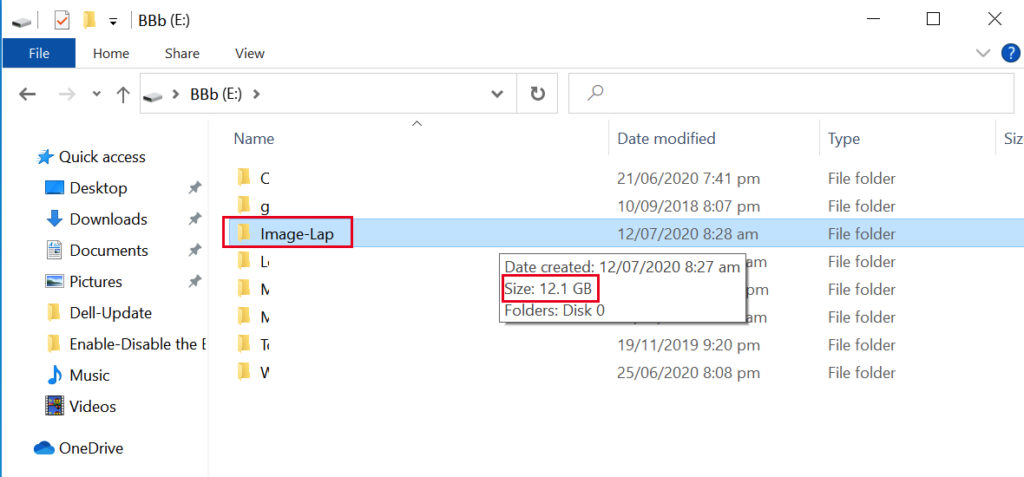
9. Now, double check the Image Backup folder
> As you can see the size is 12.1 GB (this is a valid backup)