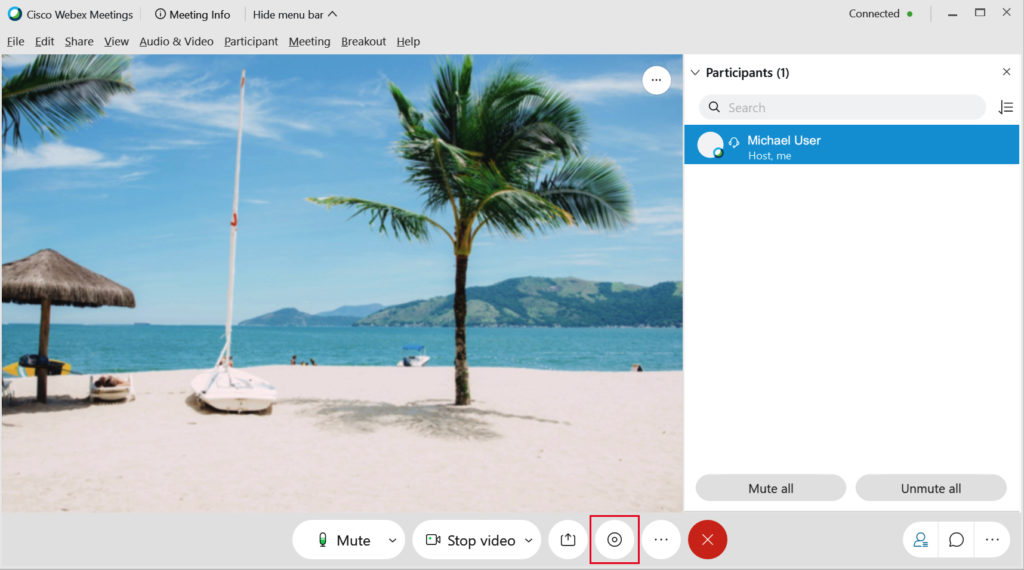
1. During the WebEx Meeting, make sure you able to Start the Record on time
> Click on the Record Button
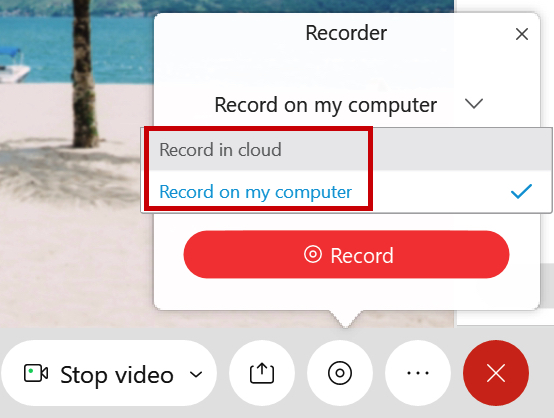
2. Select the Recording Option
> Record in Cloud – If you have Cloud License, this is most recommended
> Record on my computer – this is always available on basic license
> In this example, we will use the Record on my computer (basic license)
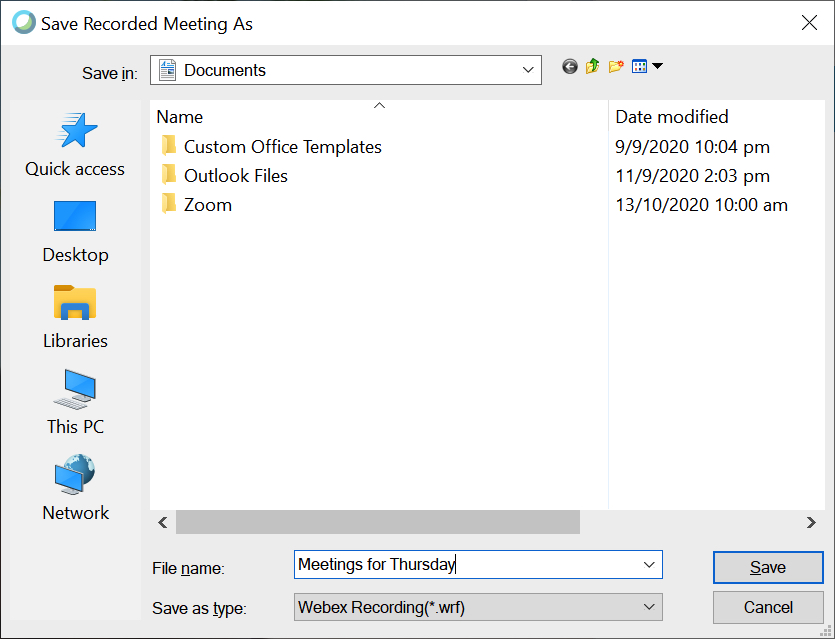
3. Set the Filename > Click Save
4. There will be a small Recorder Panel will appear
> Click Record button
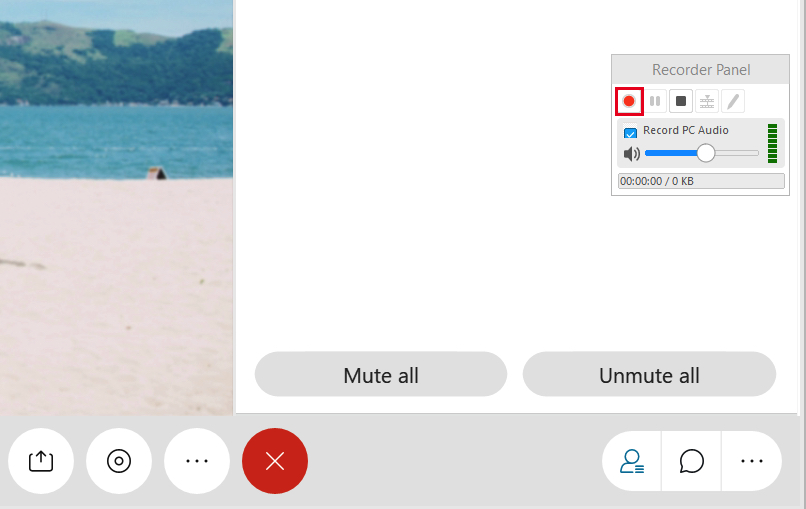
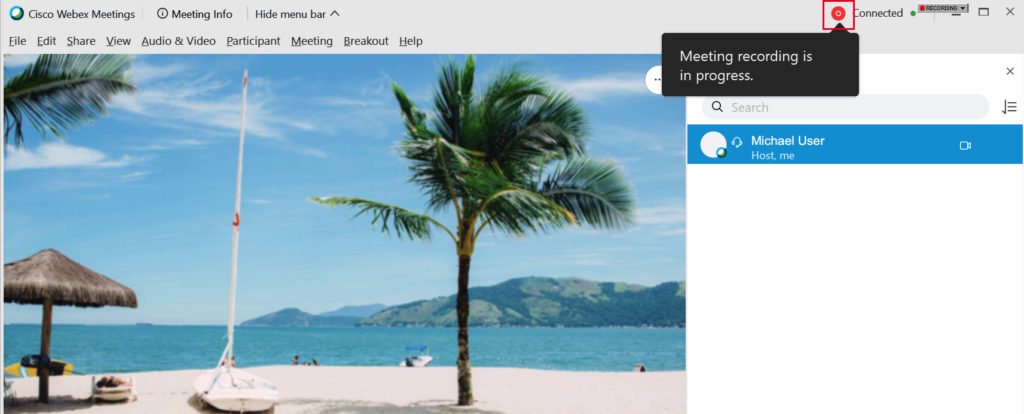
5. Meeting recording is in progress..
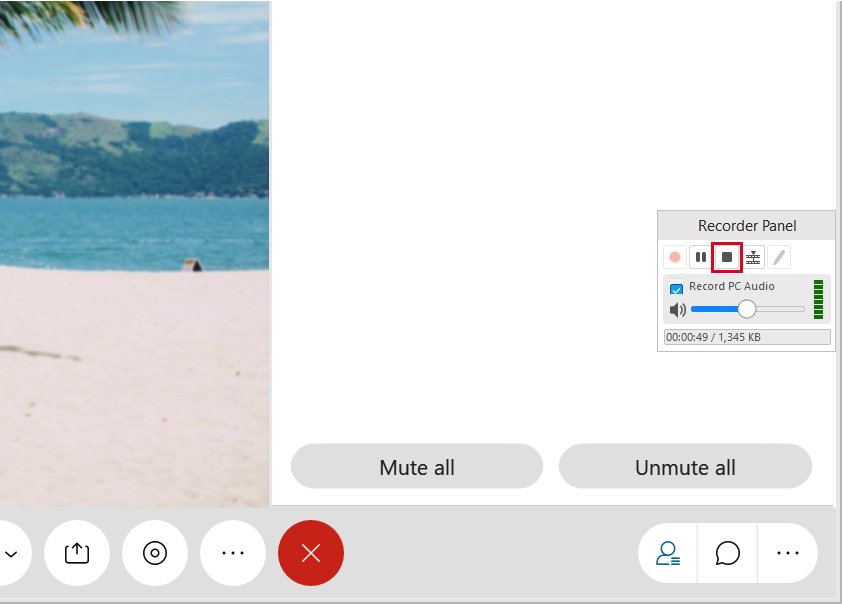
6. Once finished, Click the Stop button
Related Topic:
How to Install Cisco WebEx desktop app, please refer to this Guide