Refer to this Procedure on How Create Red Hat Bootable USB Installer
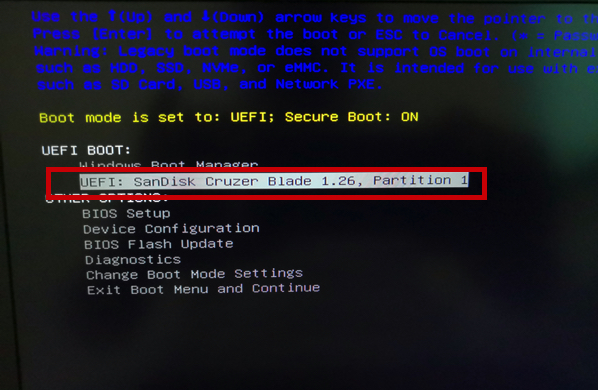
1. Plugin the Bootable USB Redhat Installer
> Turn ON your computer and repeatedly press F12 or F10 for Boot Menu
> Select the USB to boot the Installer
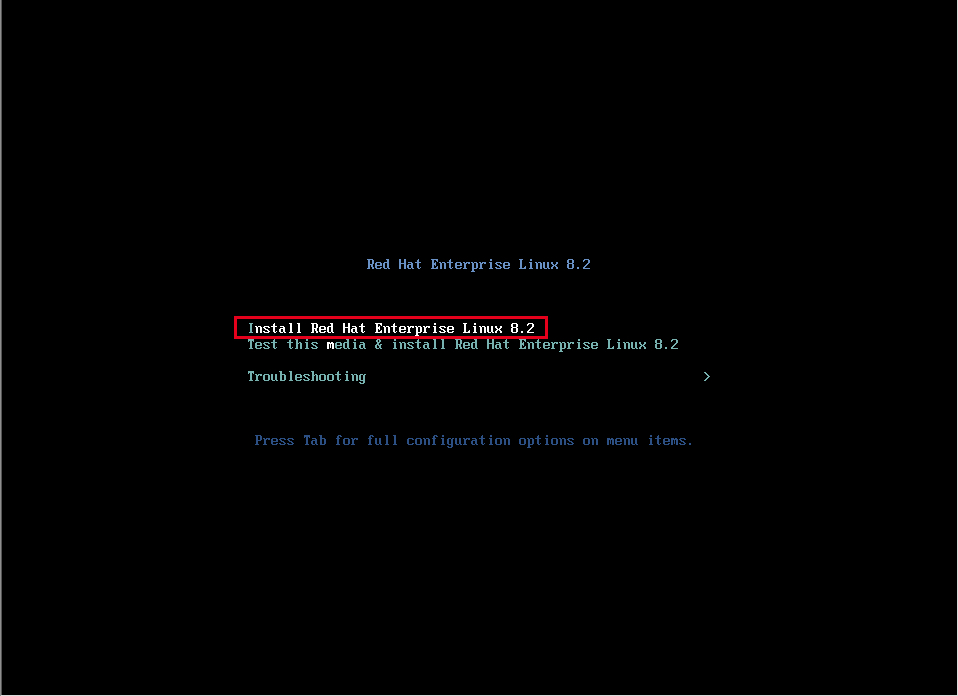
> Select “Install Red Hat Enterprise Linux 8.2” and press Enter
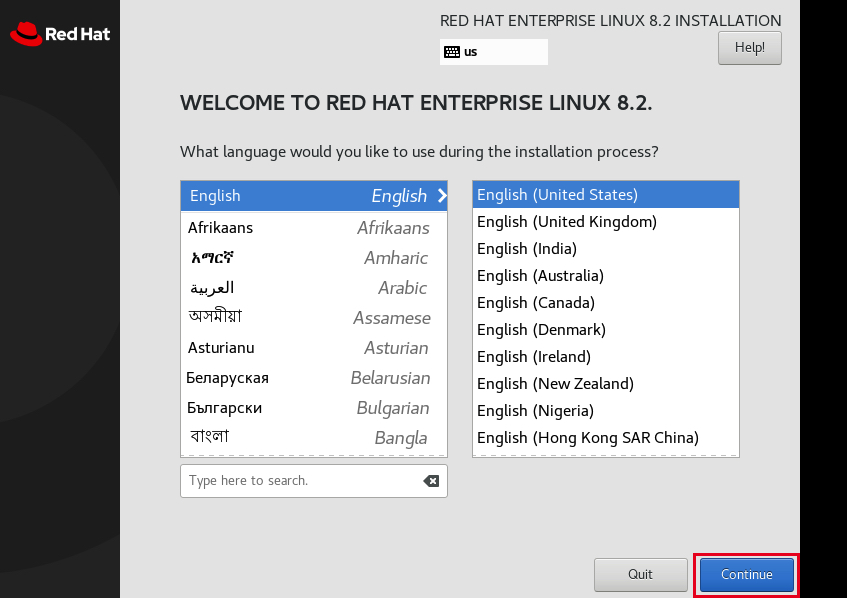
2. Select your Language and Click Continue
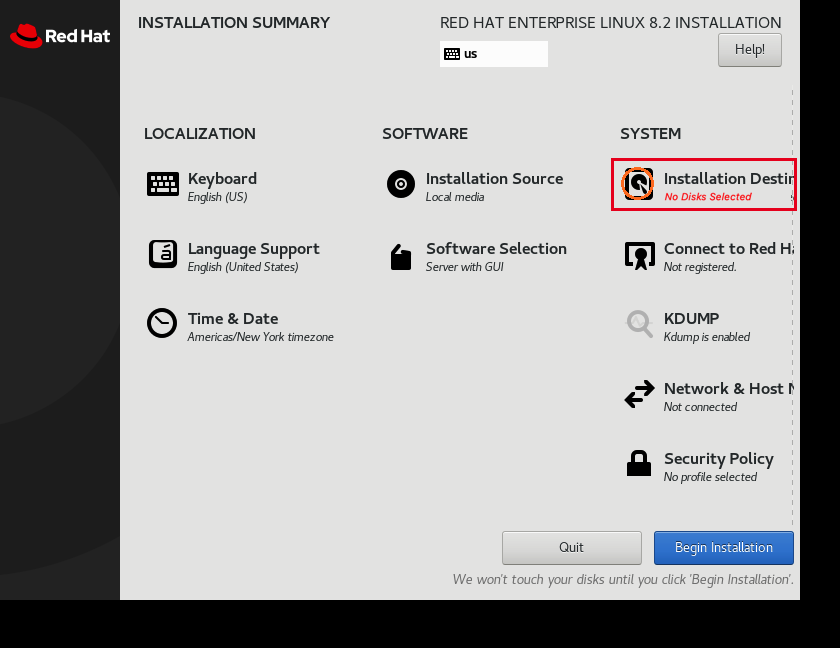
3. Click Installation Destination Disk
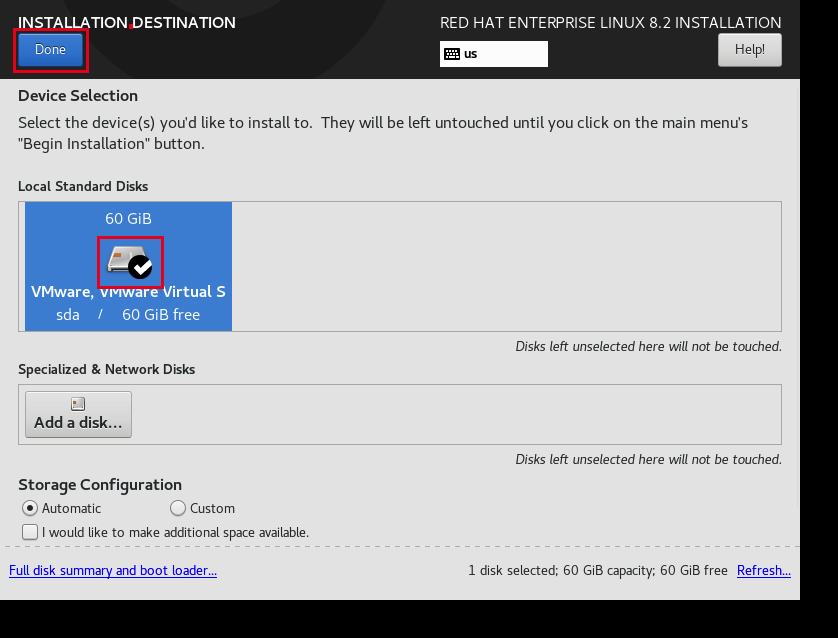
4. Select the Disk click Done
5. Click Begin Installation

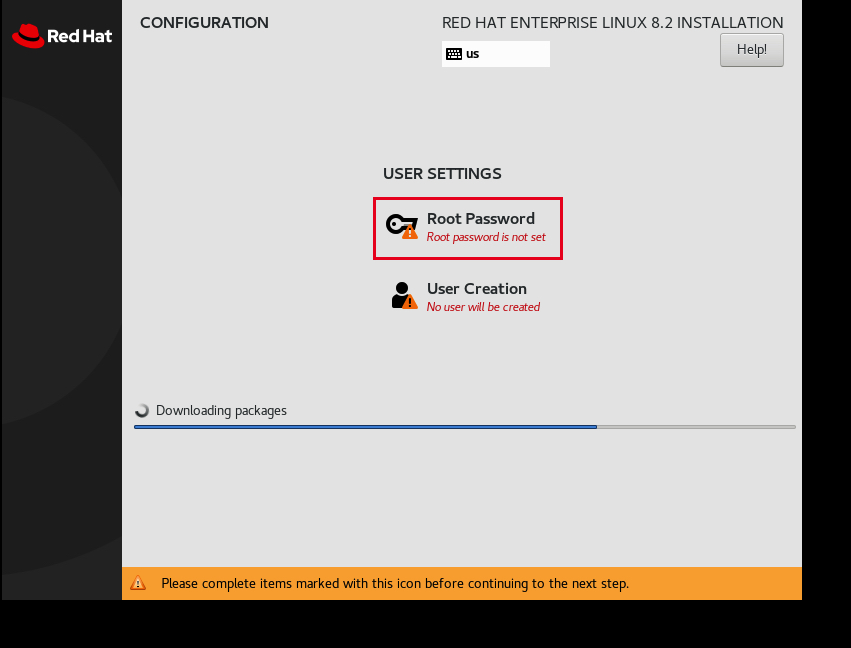
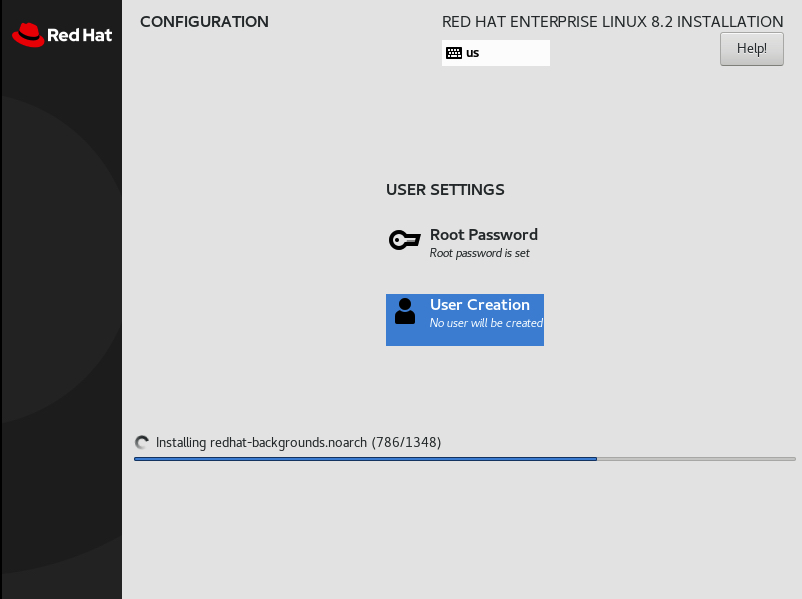
6. While Installing is in progress, Set the Root Password
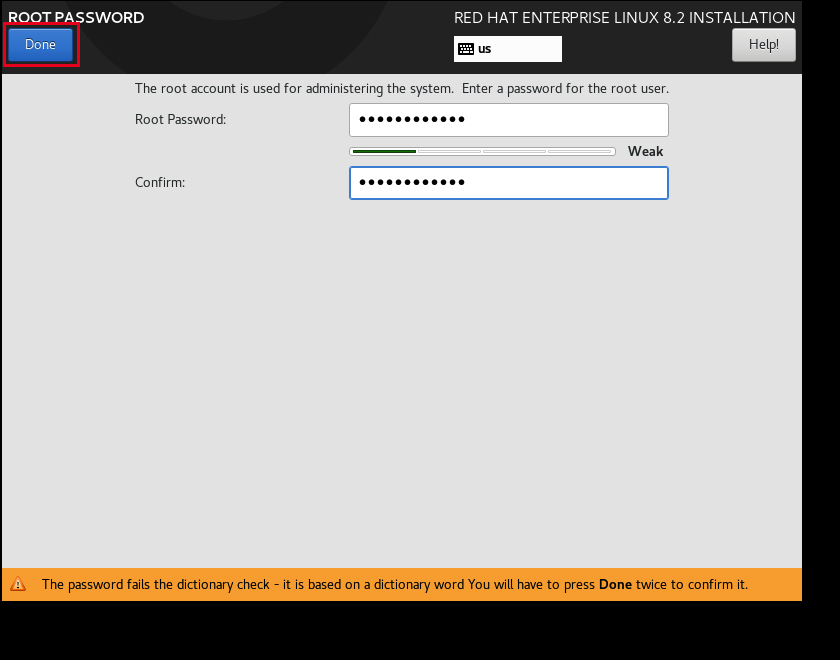
7. Set the Root Password and click Done
8. Installation in Progress
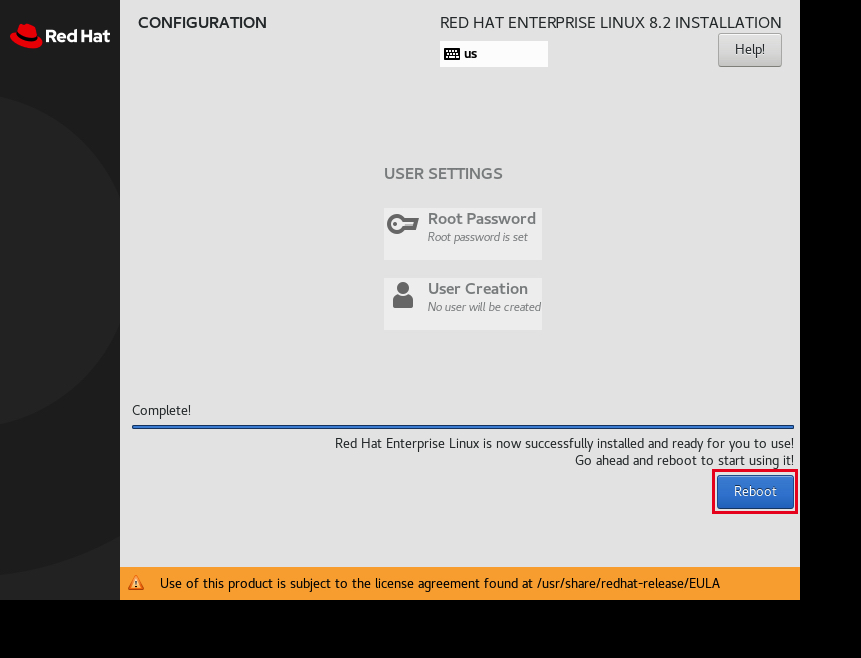
9. Installation Process in completed > Please Click Reboot
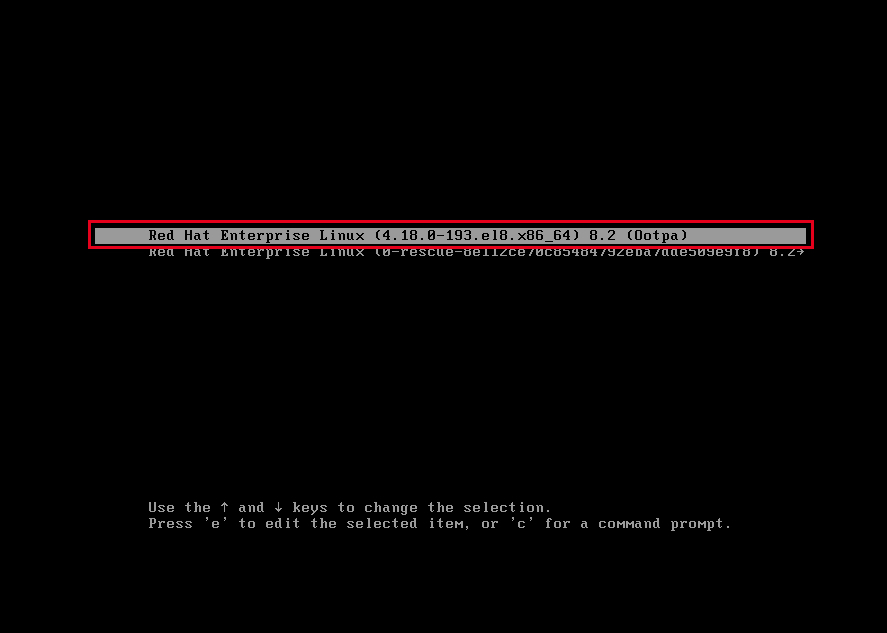
10. Select the First Selection “Red Hat Enterprise Linux 8.2”
> this is the OS we just recently Installed
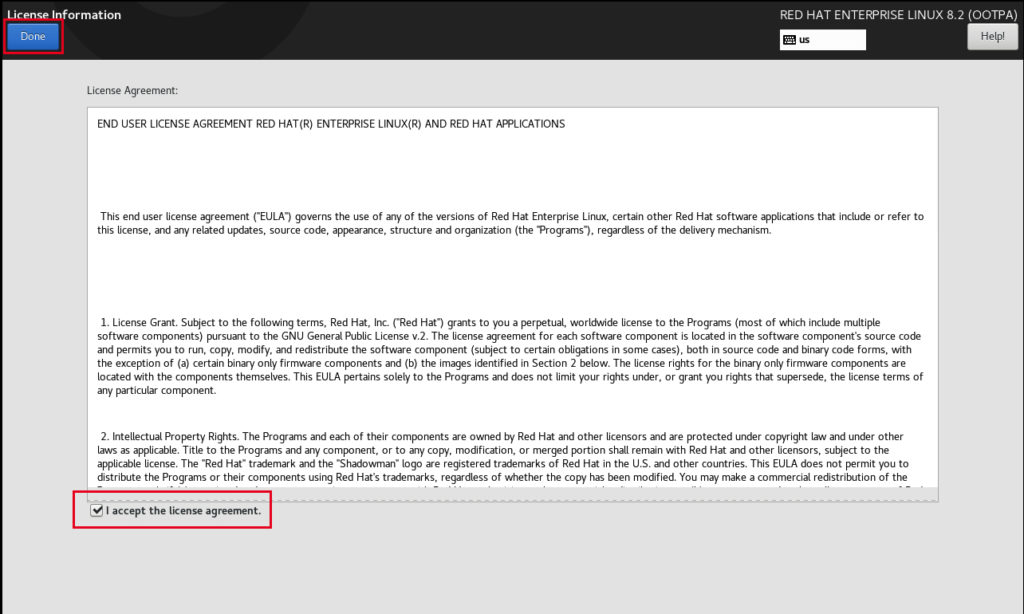
11. Click License Information to Accept the License Agreement
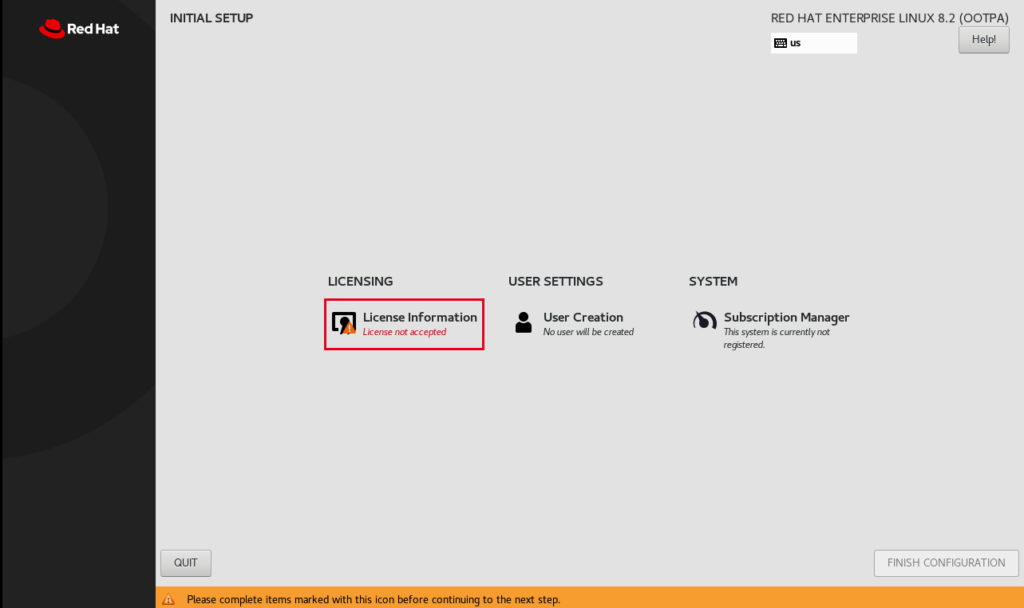
12. Tick the box “I Accept the License Agreement”
> Click Done
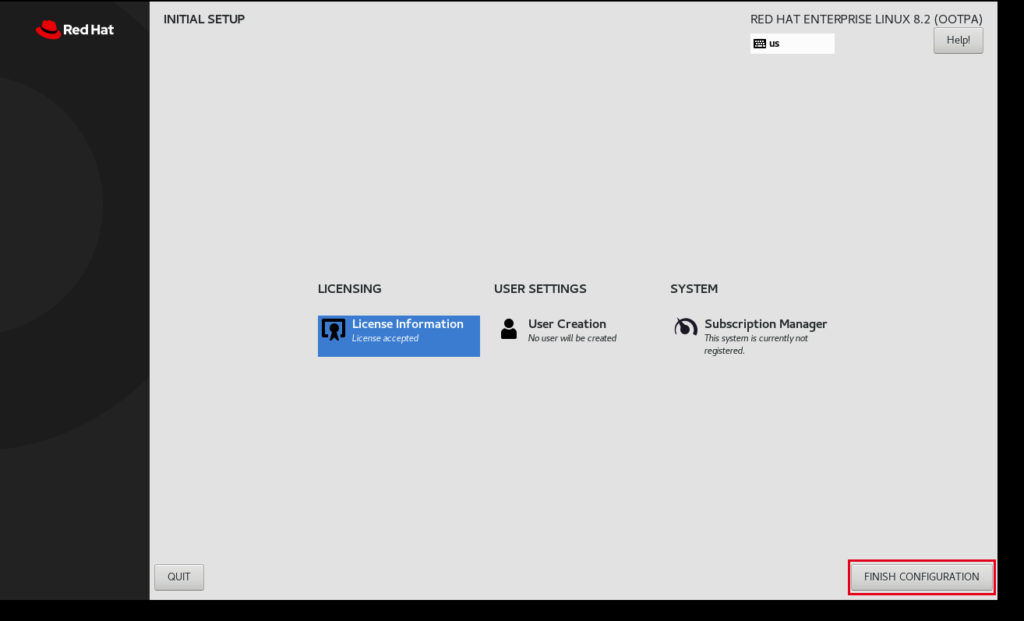
13. Click Finish Configuration
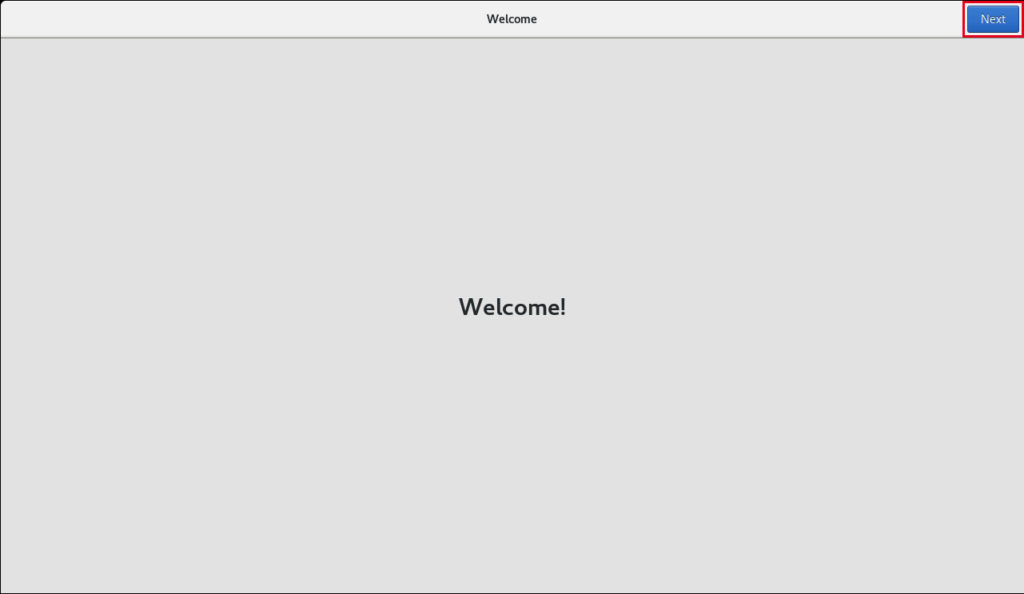
14. This is the Welcome Screen > Click Next
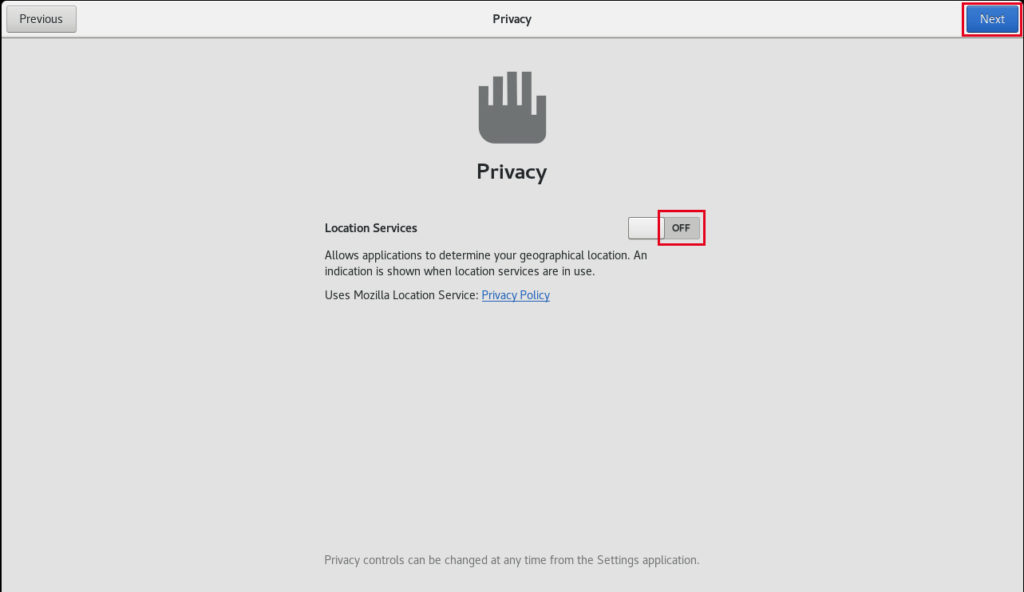
15. You may enable the Location Services
> In this Example we will leave it OFF
> Click Next
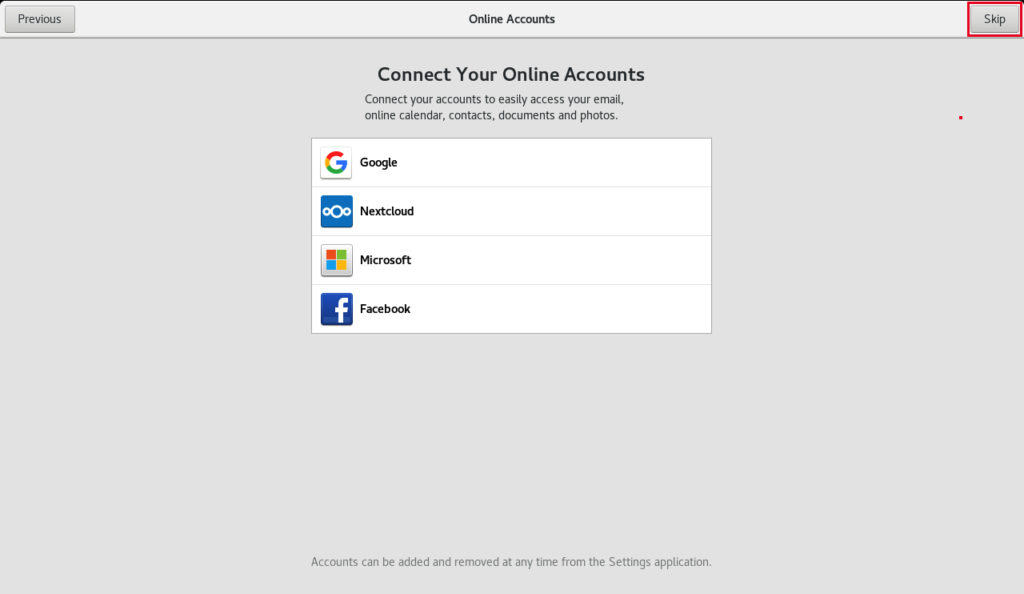
16. Click Skip (you can always configure this on later part)
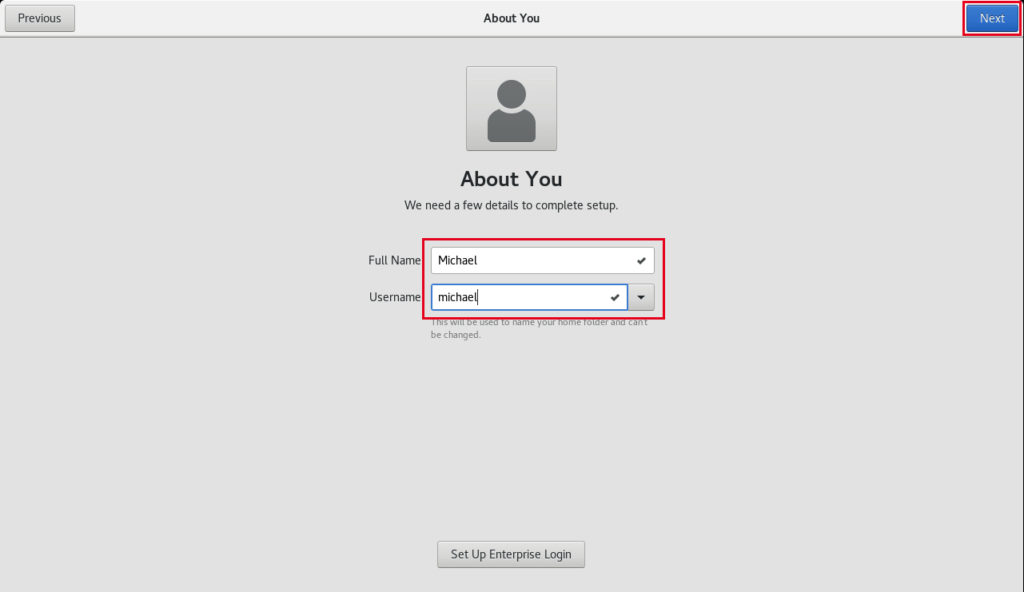
17. Set your Full Name and Username > Click Next
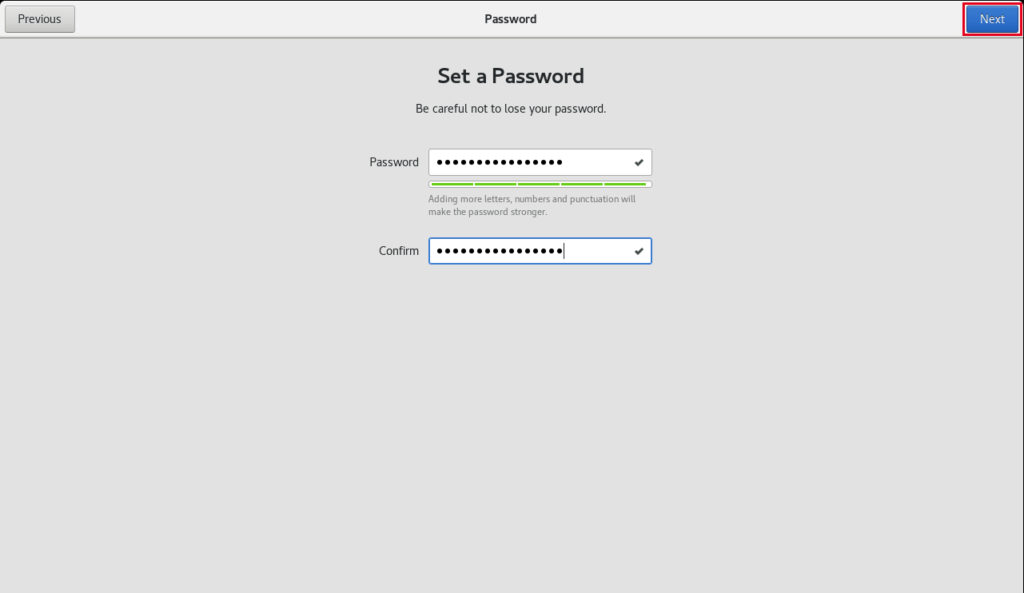
18. Set your Password and Click Next
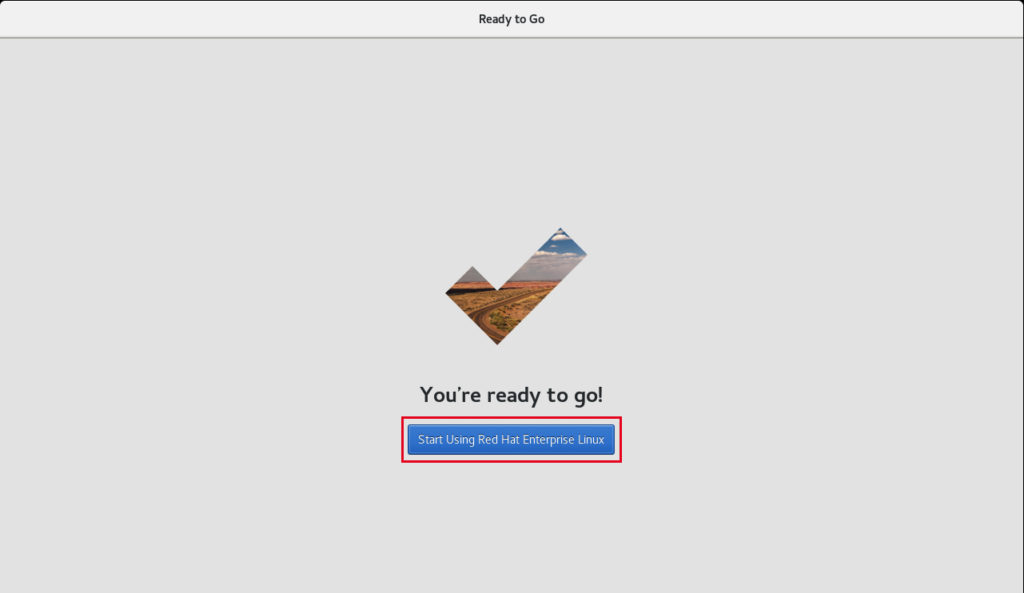
19. All Done > Click Start Using Red Hat Enterprise Linux
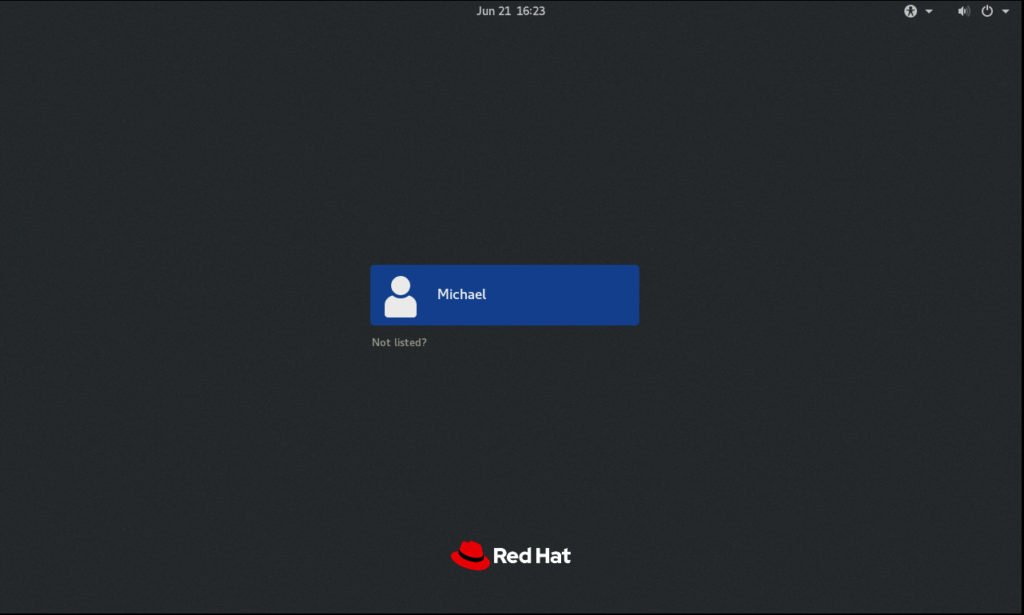
20. Click your Account to Login
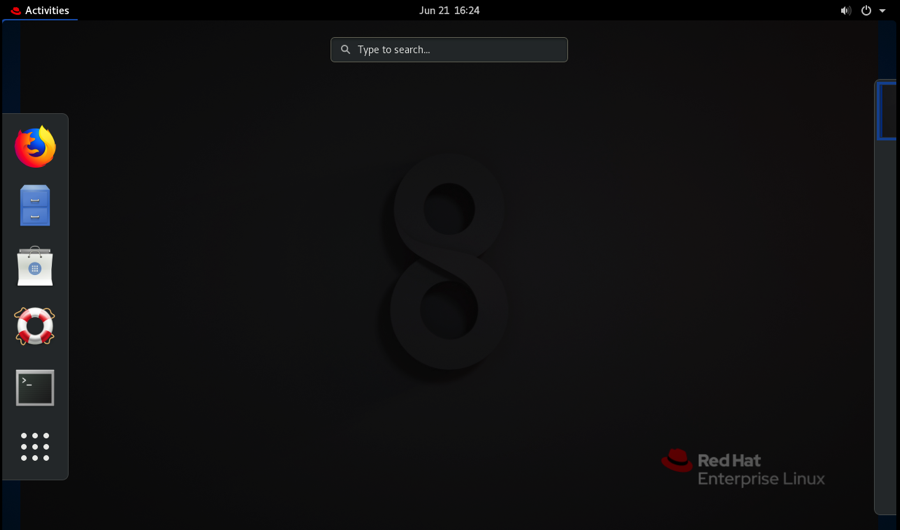
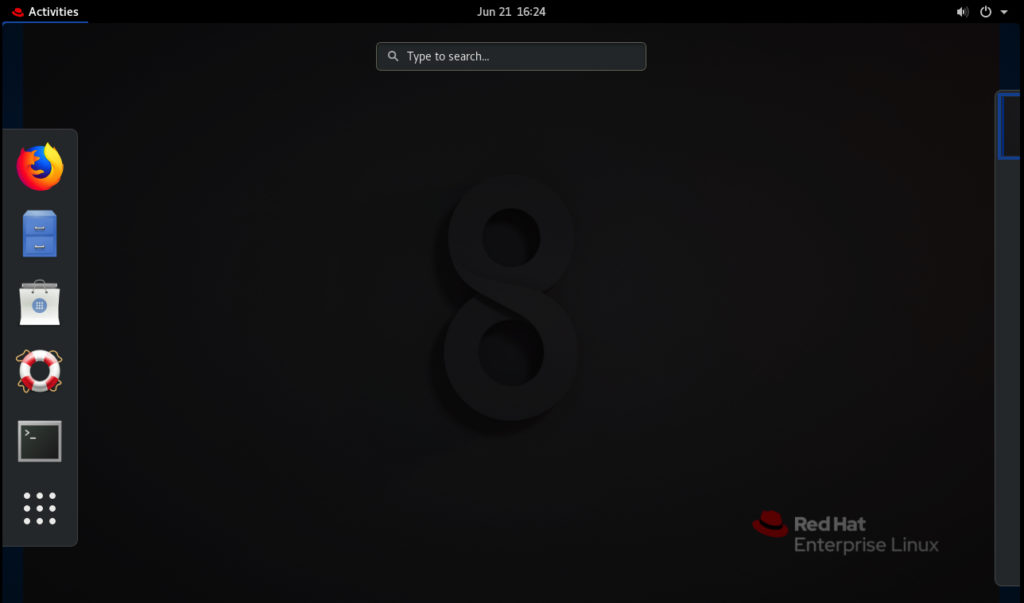
21. This is the New Look of Red Hat Enterprise Linux 8.2
Helpful