1. From the EaseUS Todo Backup Console
> Click Settings
> Click Create Emergency Disk
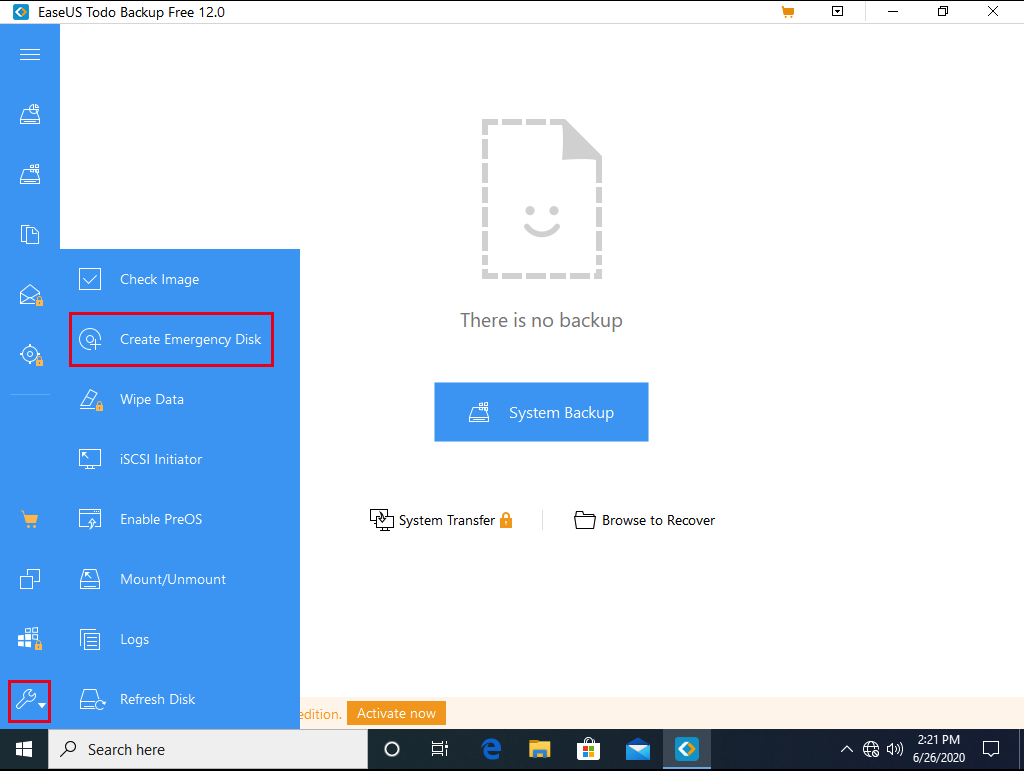
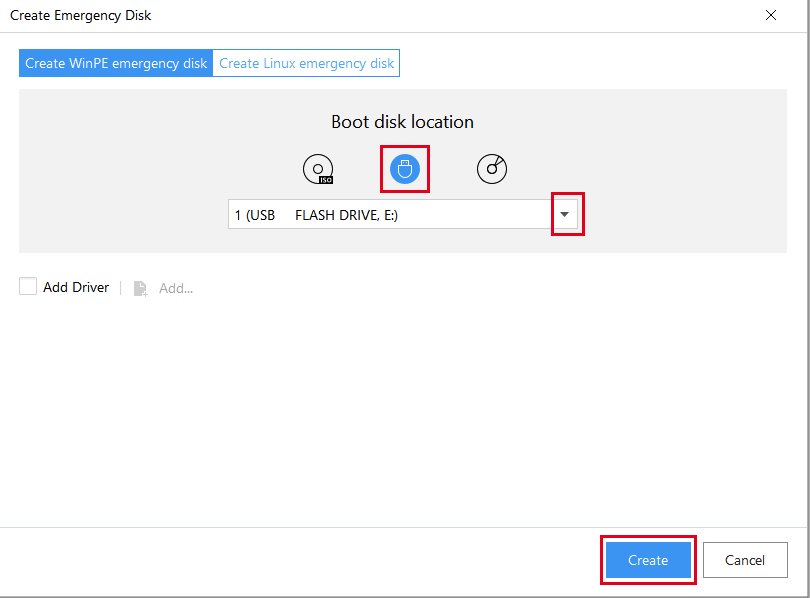
2. Choose Create WinPE emergency disk
> Click the USB Icon
> From the drop down arrow > Select the USB Flash Drive
> Click Create
3. Boot files will be prepared
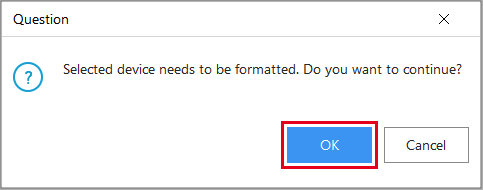
4. Warning: this will wipe-out your USB Flash Drive
> All USB content will be erased.
> Click OK
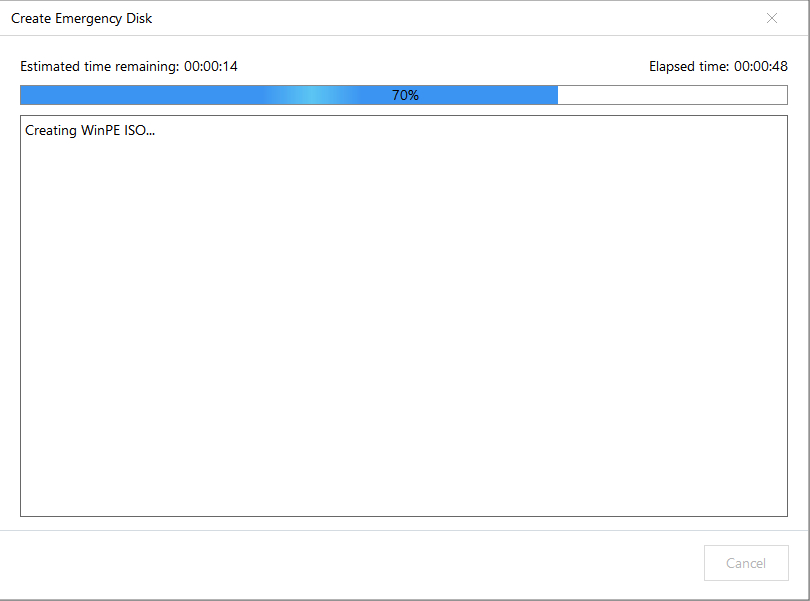
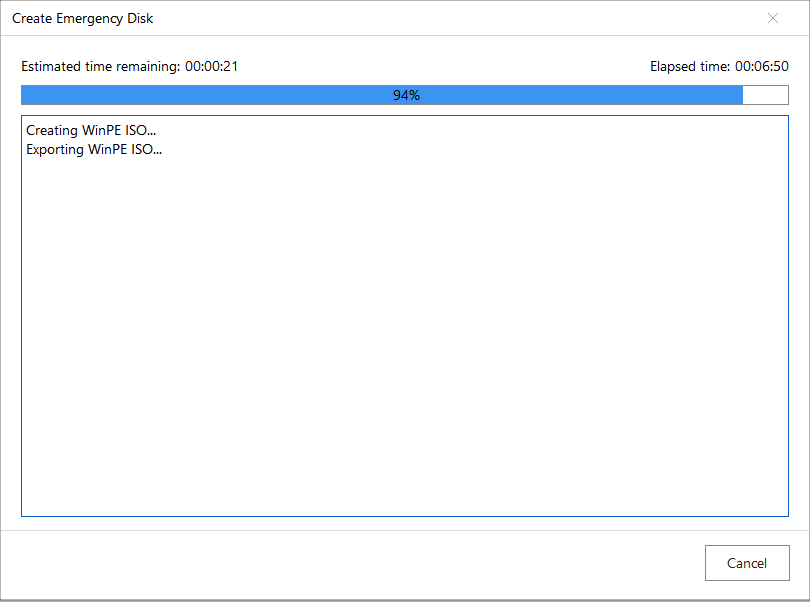
5. Emergency Disk creation in progress
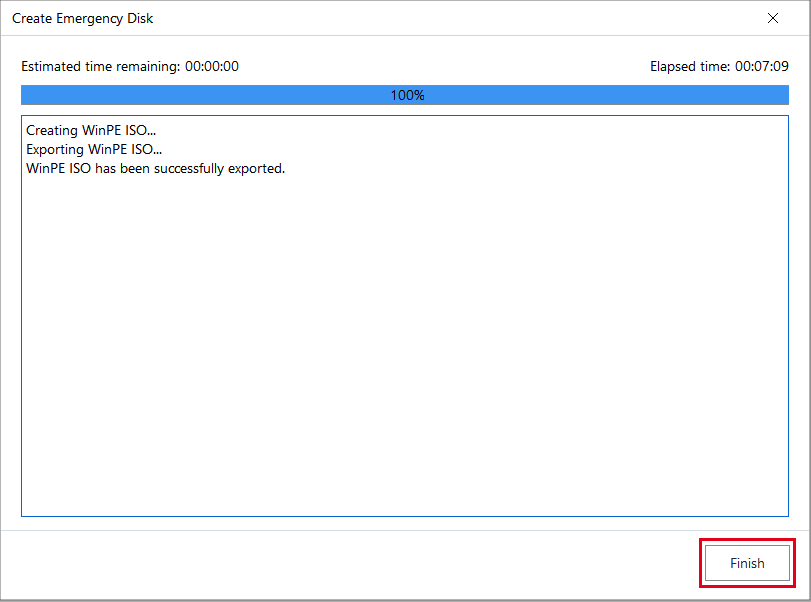
6. Completed > Click Finish
7 Click X to Close the EaseUS Todo Backup Application

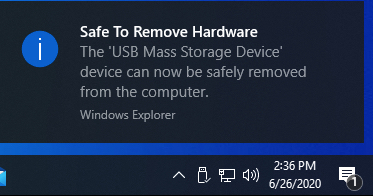
8. You may now Safely Eject the USB Flash Drive
> From the Windows Task Bar
> Click the USB icon
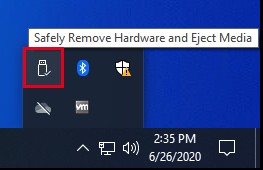
9. Click Eject FLASH DRIVE
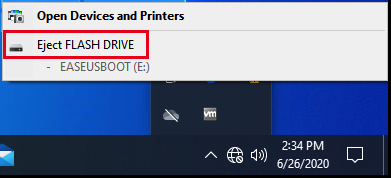
10. USB Flash Drive is now safely Ejected