This procedure will be using the Win10 Bootable USB Flash Drive
Please refer to this Procedure on how to create Windows 10 Bootable USB Flash Drive Installer
1. Plugin the USB Flash Drive into your Computer
> Power ON your Computer and press F12 or F10 key repeatedly for Boot Menu
– Depending on your PC manufacturer, F12 or F10 key is the standard shortcut Boot Menu
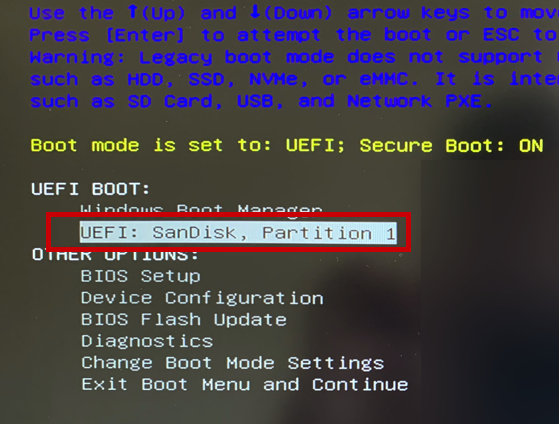
2. Select your USB Flash Driver > press Enter
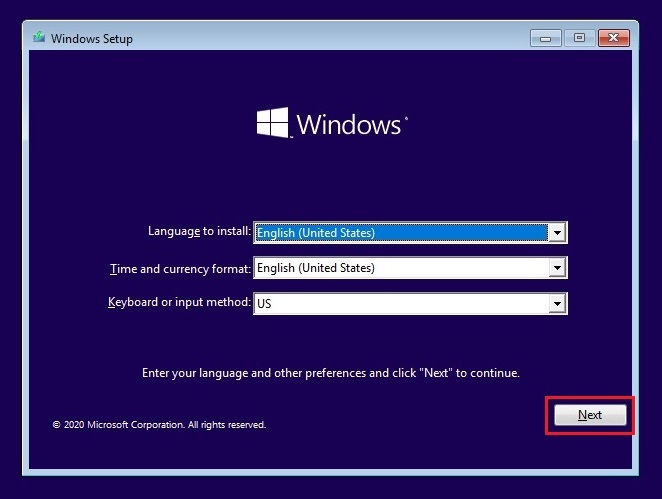
3. Set the Language, Time & Currency, Keyboard Layout > Click Next
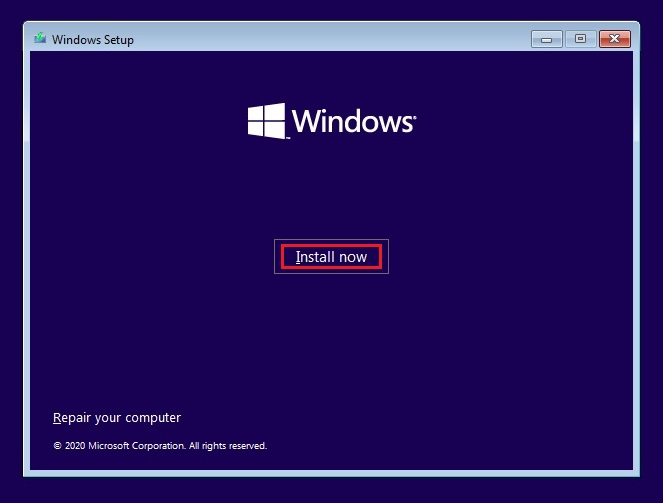
4. Click Install now
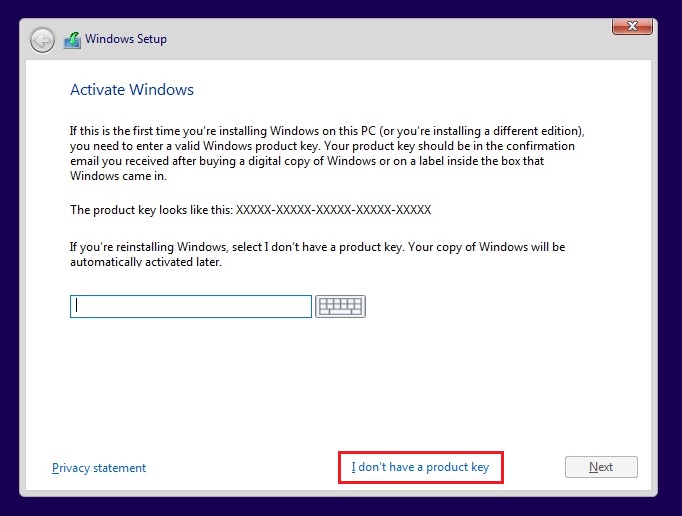
5. Set the Product Key > otherwise Click “I don’t have a product key”
– you can always set this on the later part
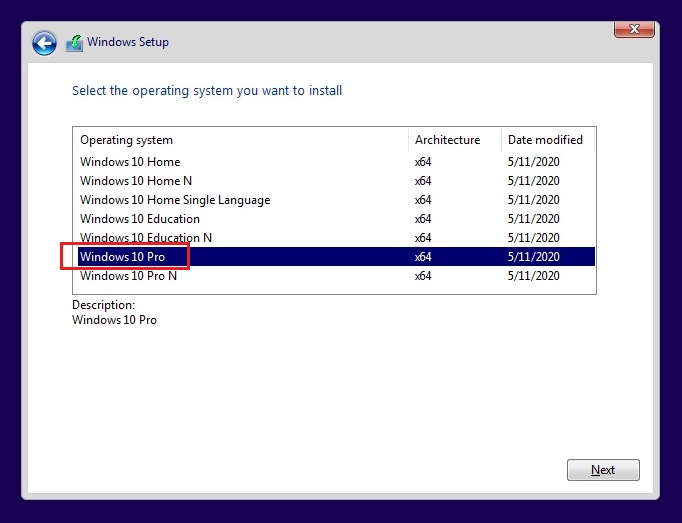
6. Select Windows 10 Pro > Click Next
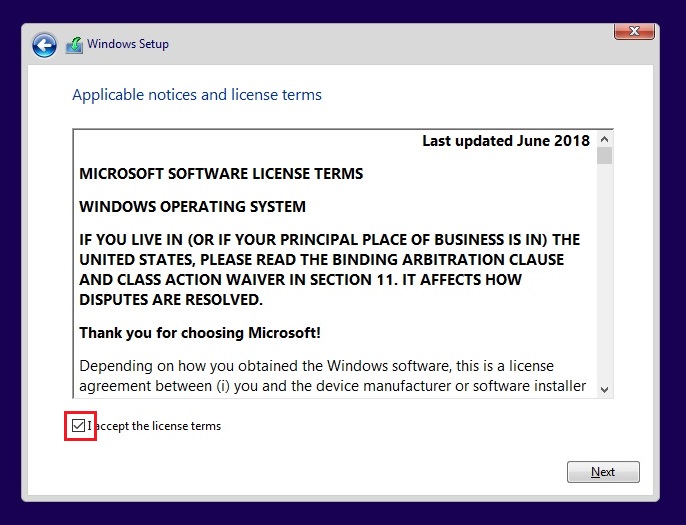
7. Tick “I accept the License terms” > Click Next
8. Click Custom: Install Windows only (advanced)
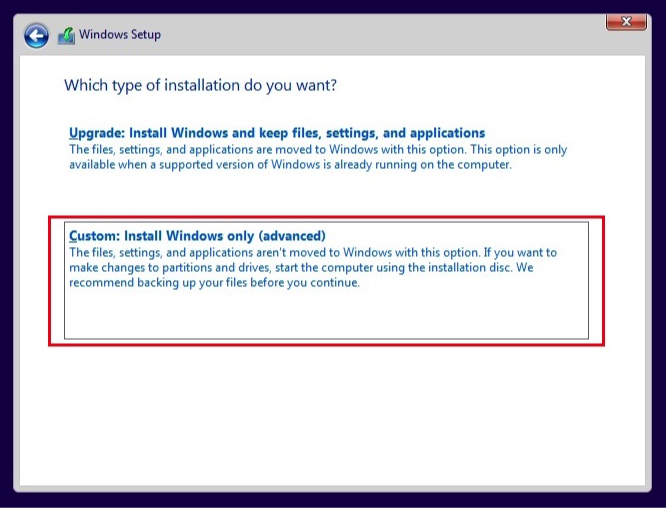
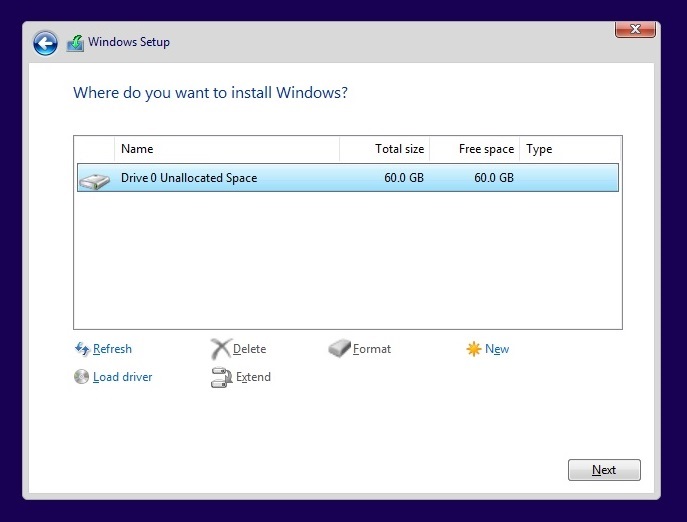
9. Warning: Once you delete the volume/partition, this process cannot be reversed.
> If you are installing to a brand new PC hardware (with New Hard Drive), you need to delete all the Volume of your Hard Drive until you see Drive 0 Unallocated Space.
> You can also do Partitioning on this stage.
> If you are using old PC with multiple Partition, make sure you know how to safely delete the correct Partition, to avoid accidental loss of your data.
> In this Example, we are using band new PC and brand new SSD Hard Drive.
> Click Next
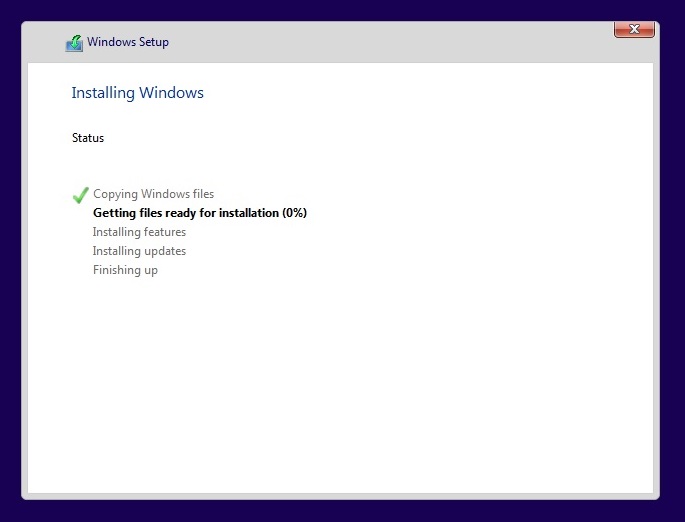
10. Installation in Progress.
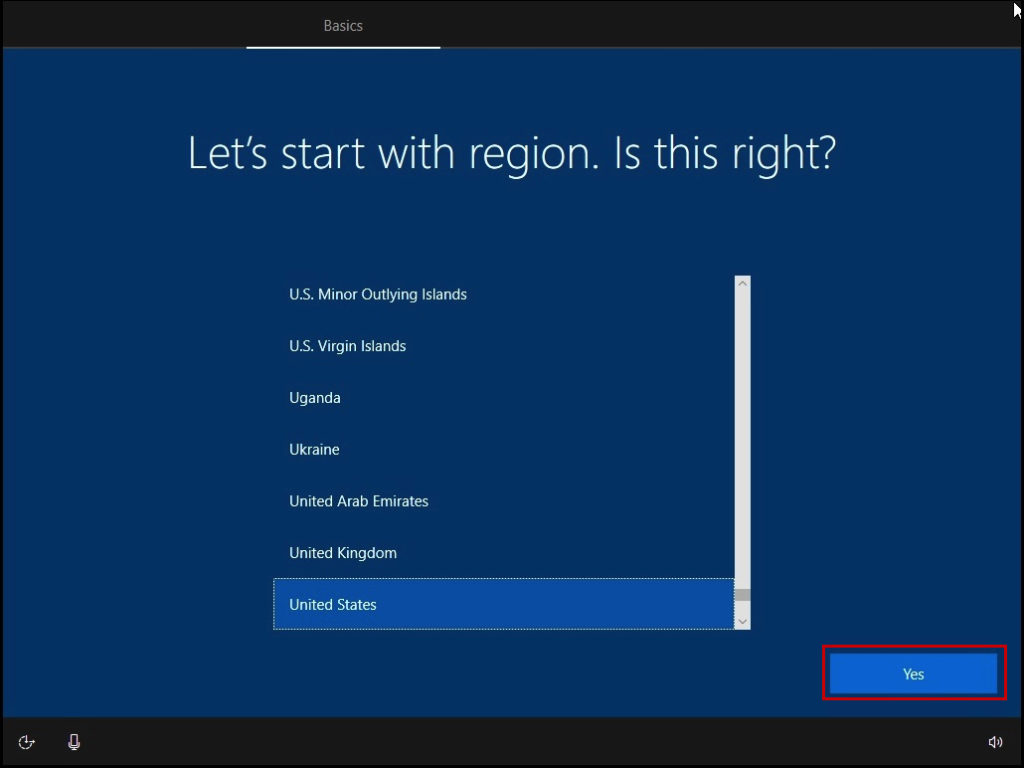
11. Select your Region > Click Yes
12. Select your Keyboard Layout > Click Yes
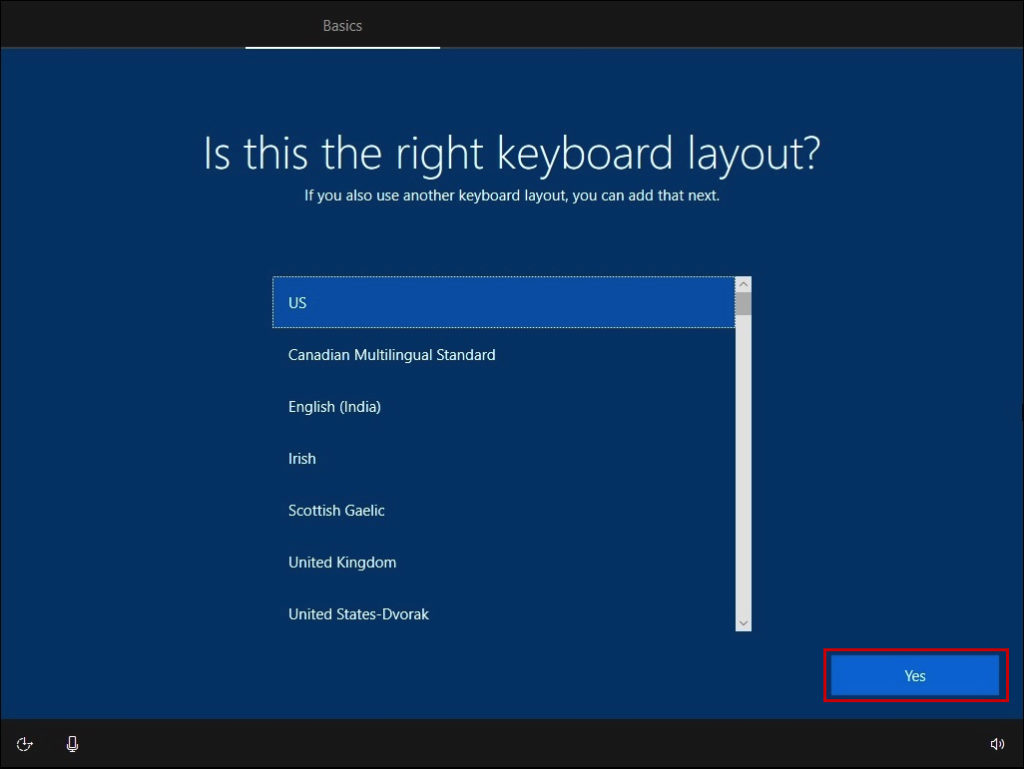
13. Click Skip
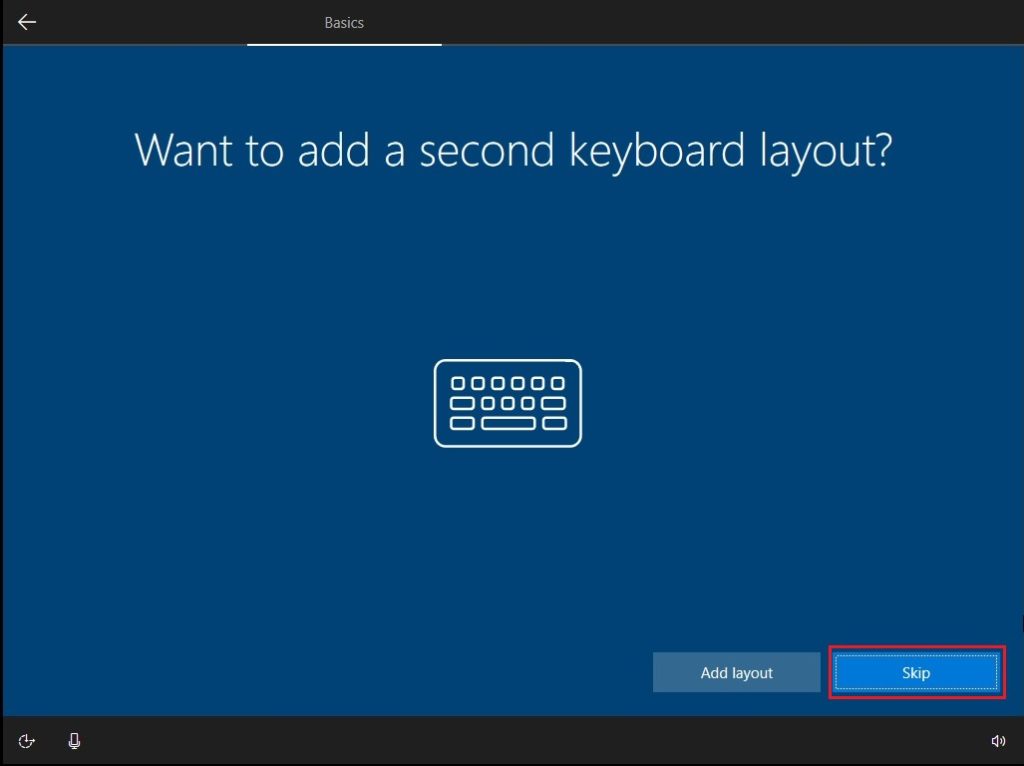
14. Connect to your Network Wifi > Click Connect
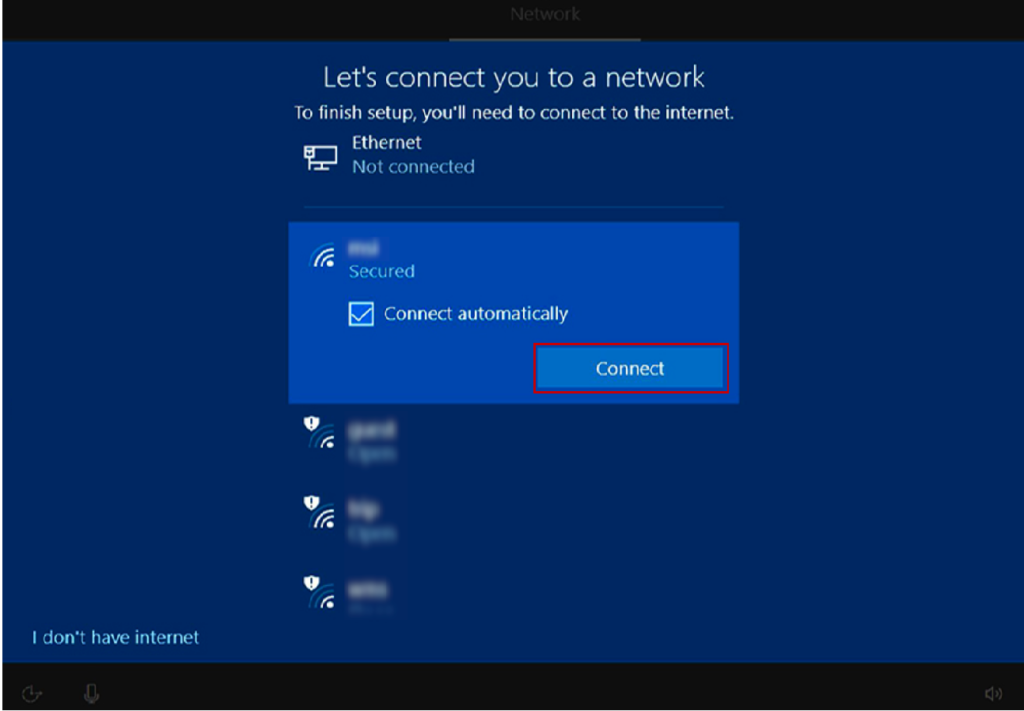
15. Click No
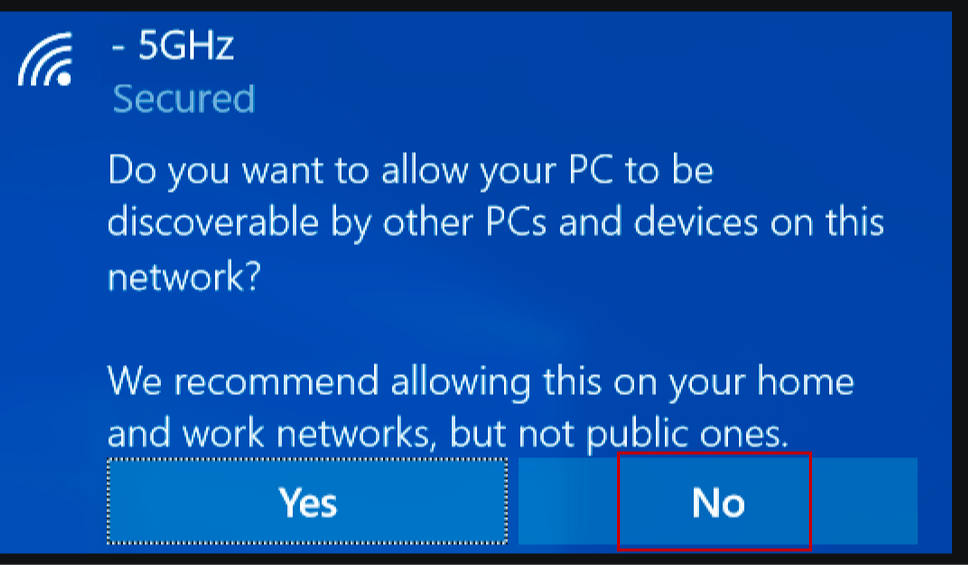
16. Loading..
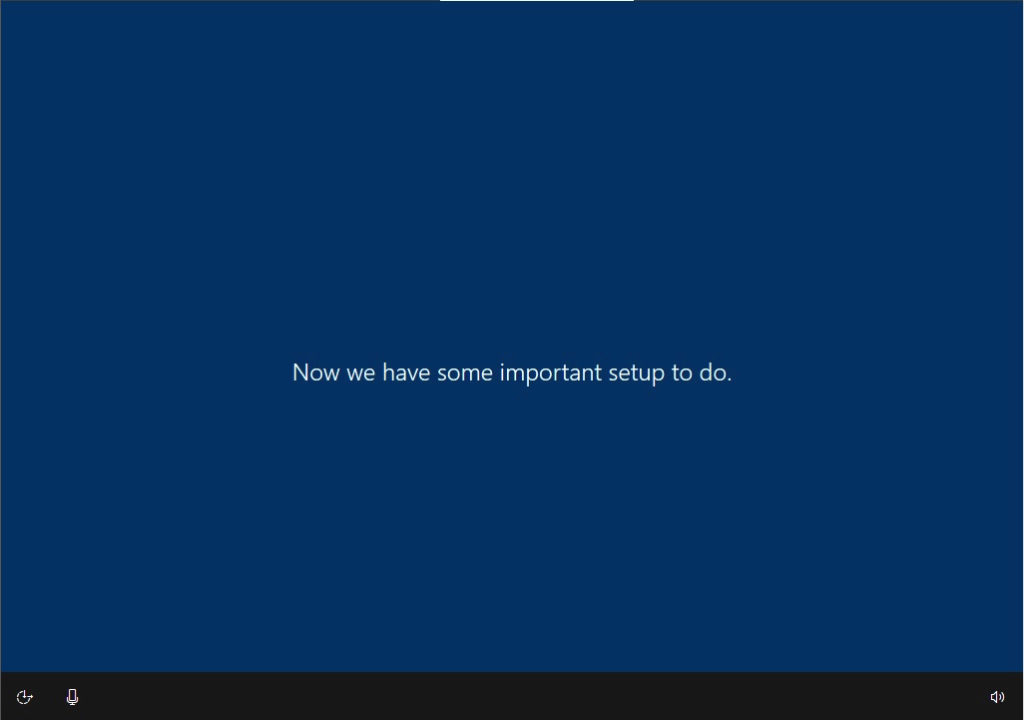
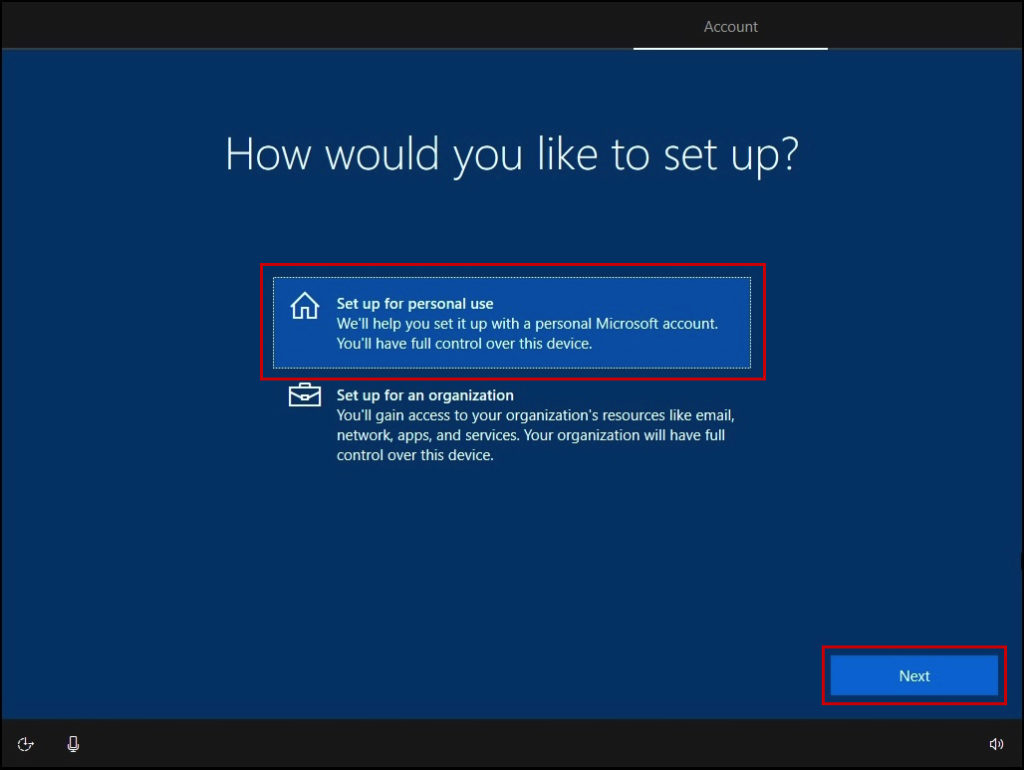
17. Setup for Personal use > Click Next
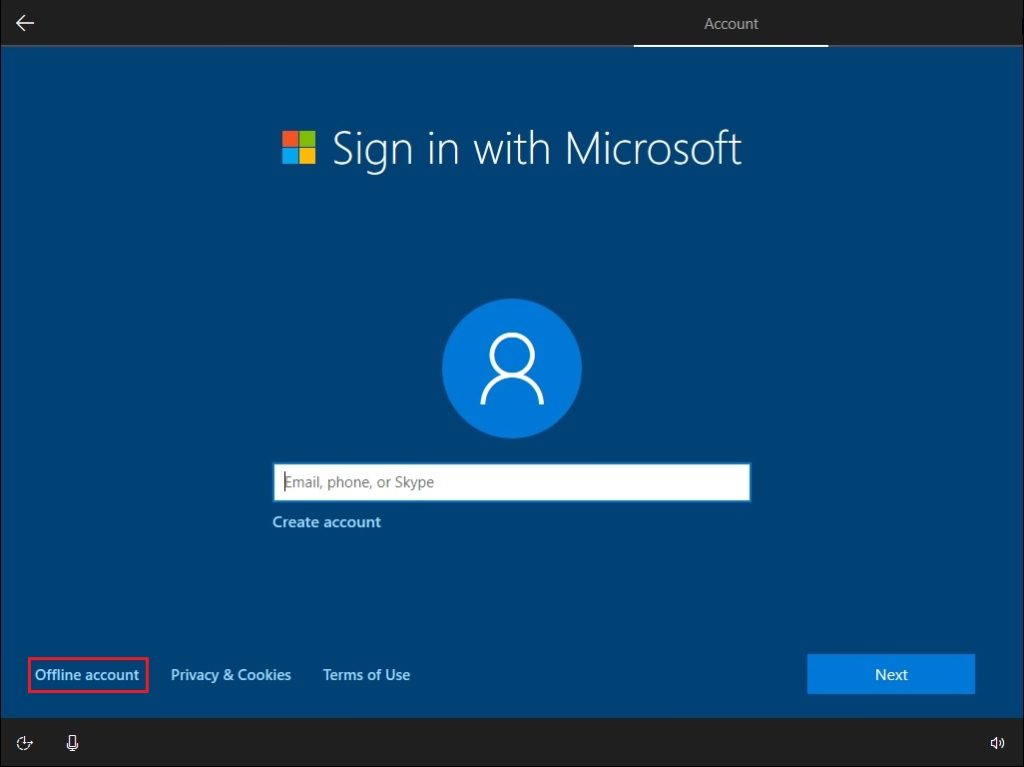
18. Click Offline account
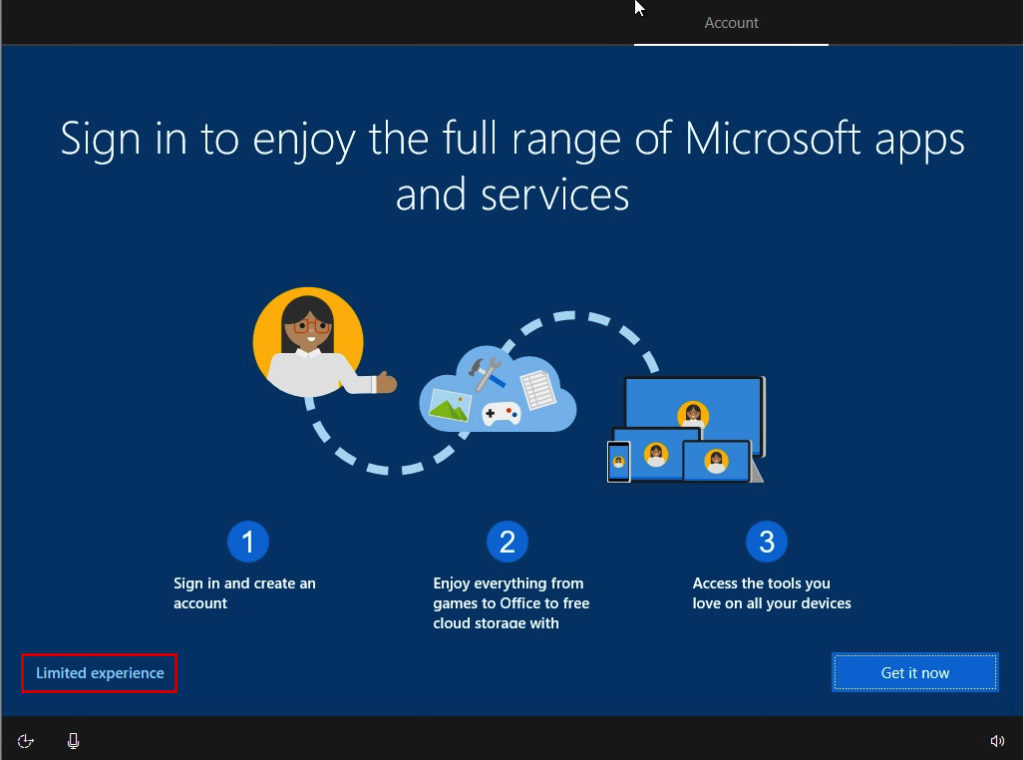
19. Click Limited experience
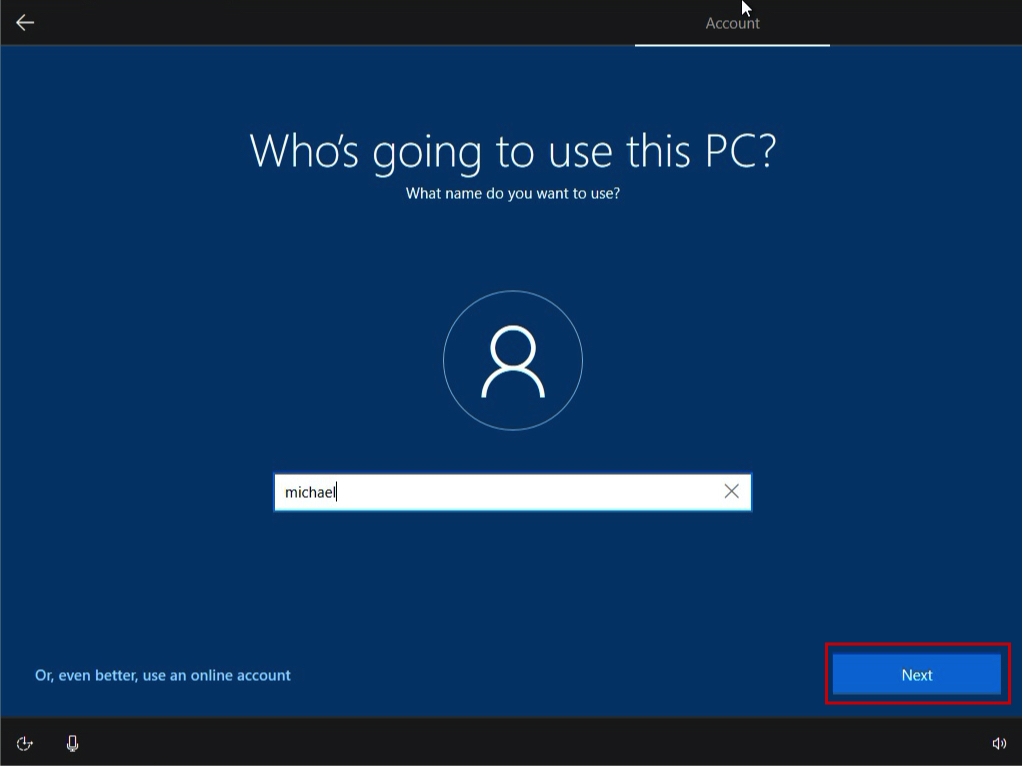
20. Type your preferred username > Click Next
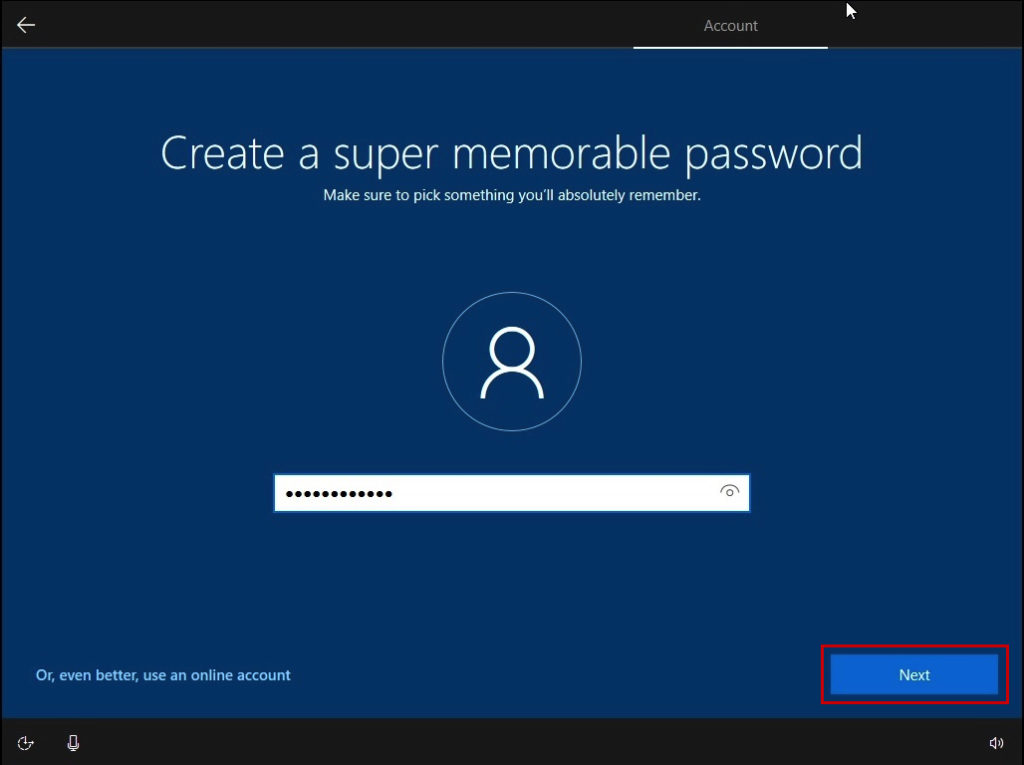
21. Type your preferred Password Click Next
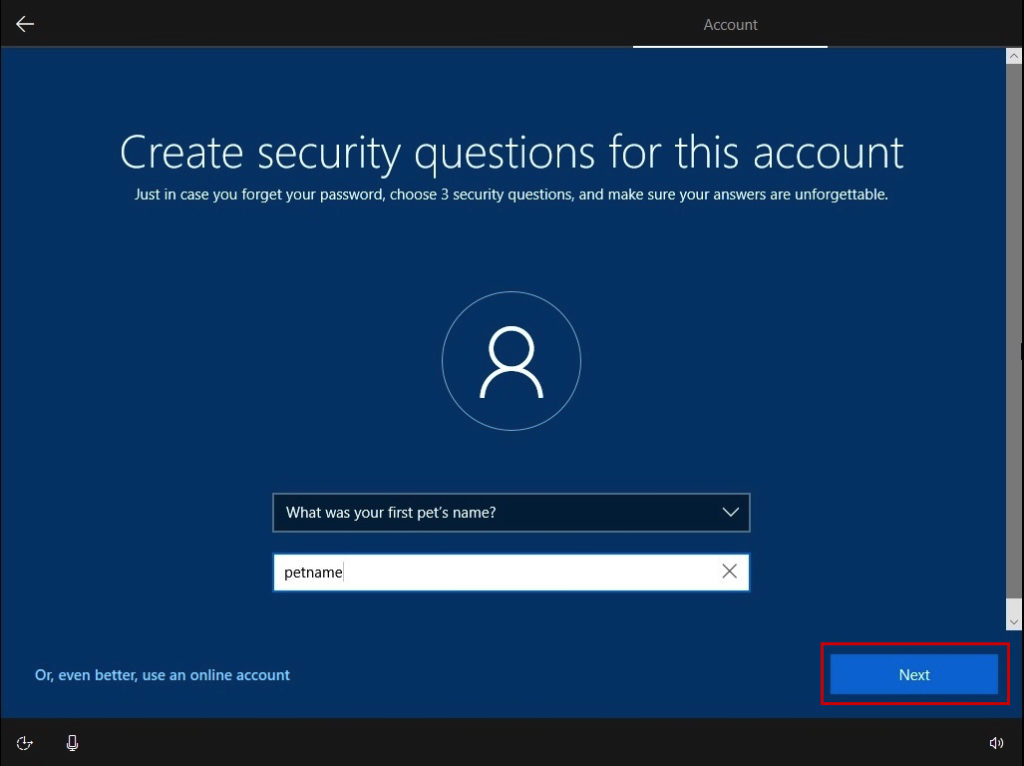
22. Set your 3 Security Question > Click Next
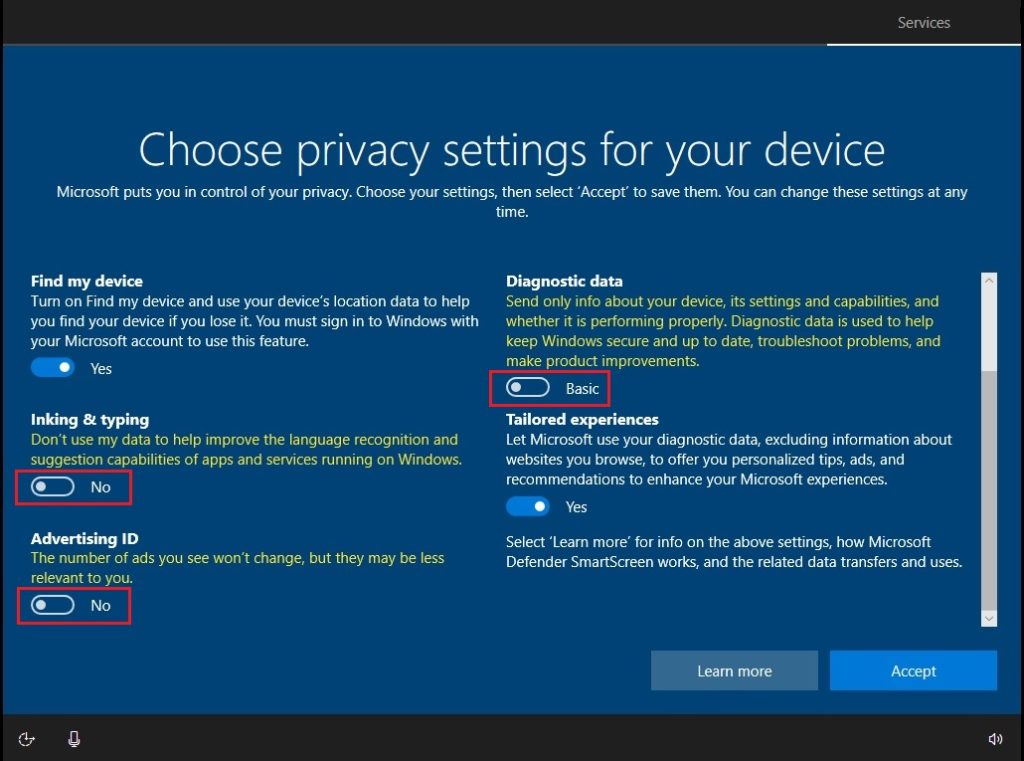
23. Set the Minimum Settings (this improves computer performance) > Click Accept
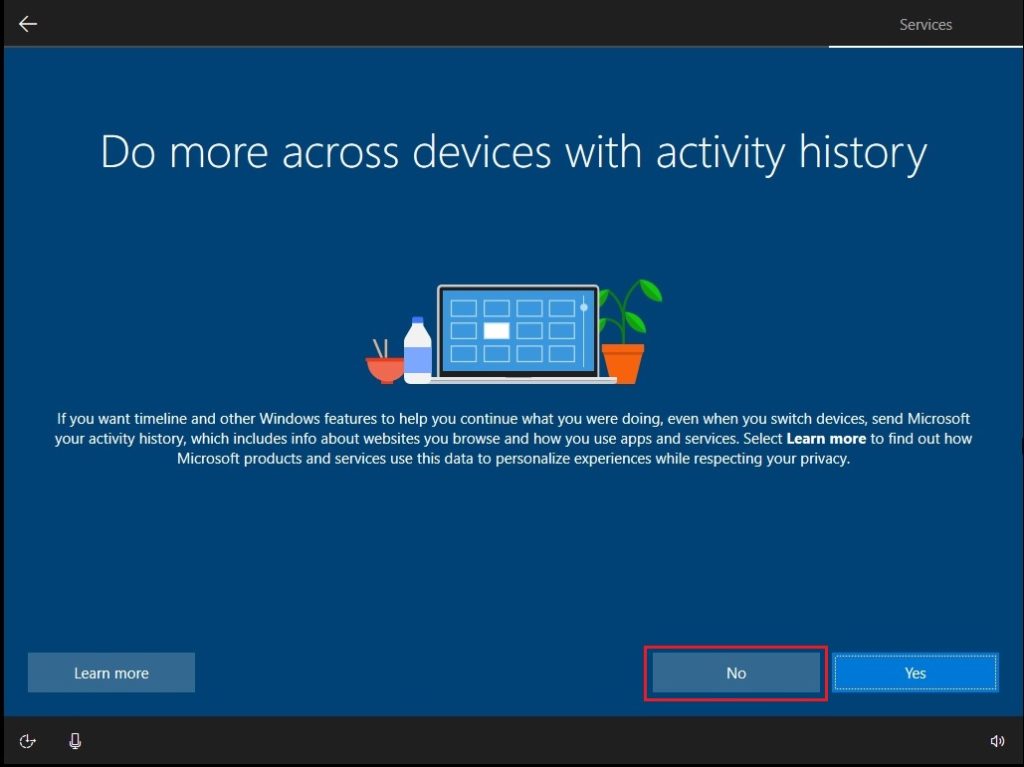
24. Click No (You can always set this on the Later Part)
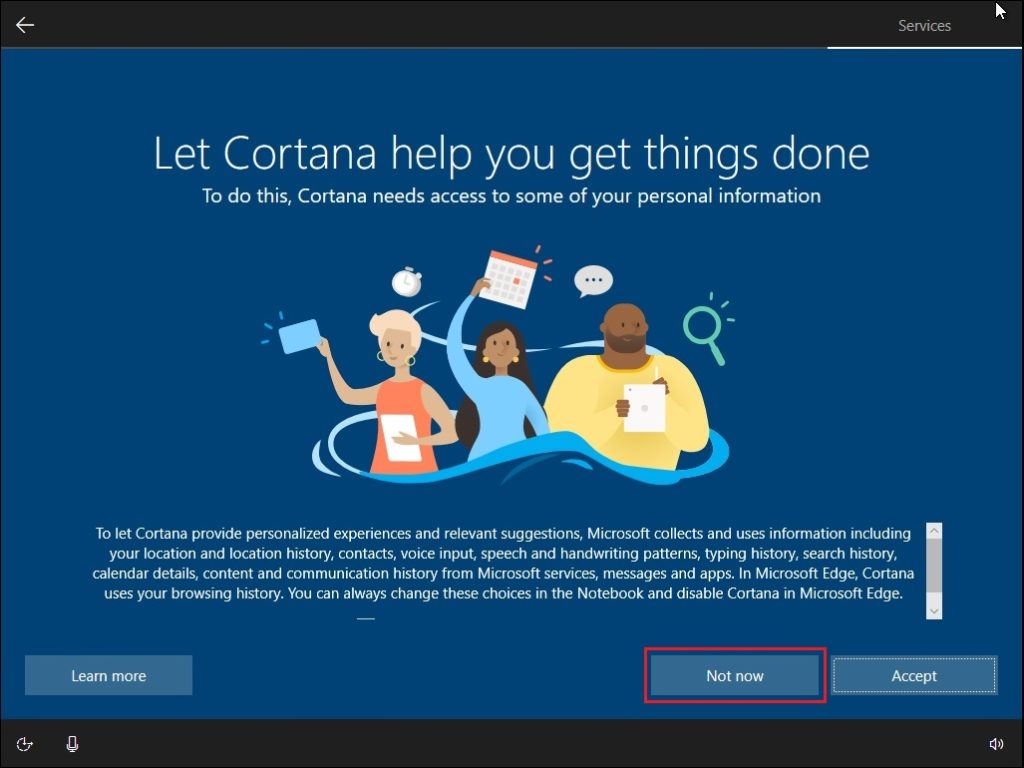
25. Click Not now (You can always set this on the Later Part)
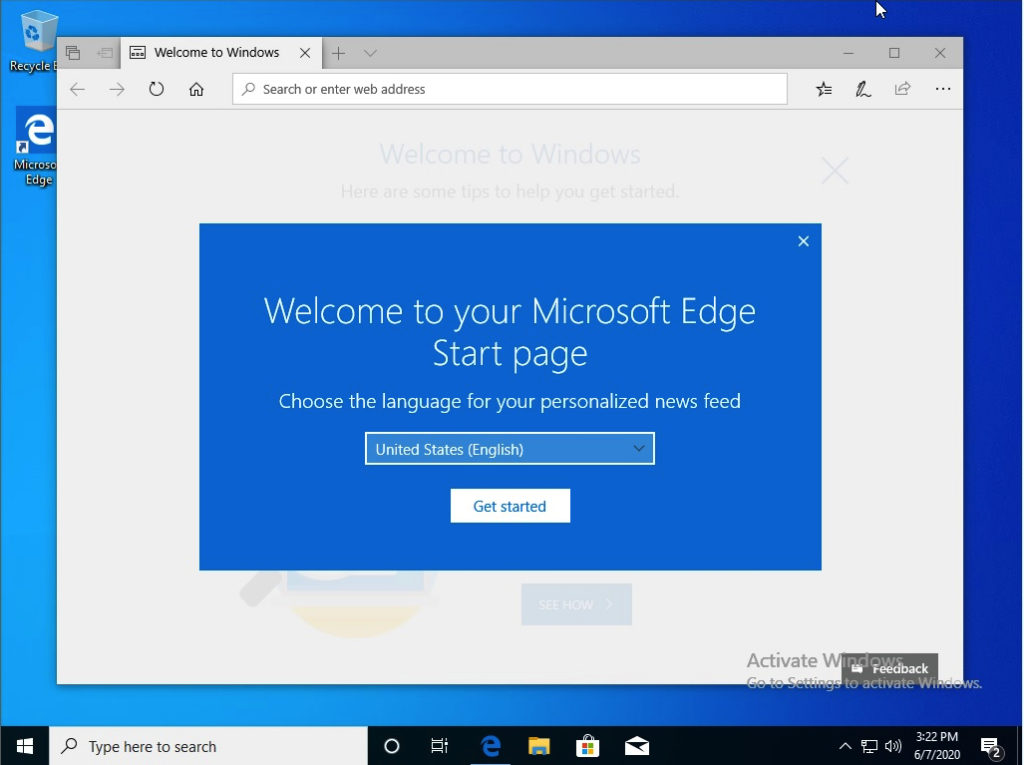
22. All Done
Actual Video Guide:

