1. Refer to this Procedure on how Download the Latest Ubuntu ISO File and Create Bootable USB
2. In this Process, we will use the USB Bootable Installer
> Plugin the Ubuntu Bootable USB on your PC
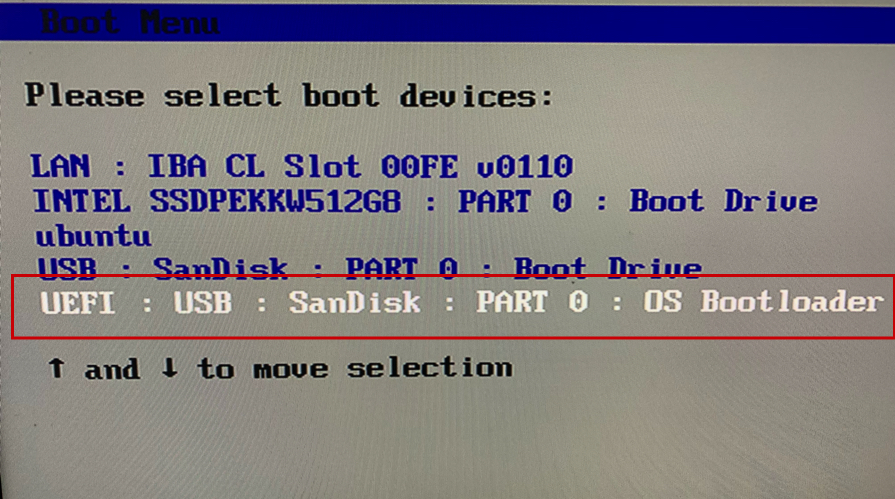
3. Power ON your Computer > Immediately press Press F12 or F10 key repeatedly for Boot Menu
4. Select USB Flash Drive > Press Enter
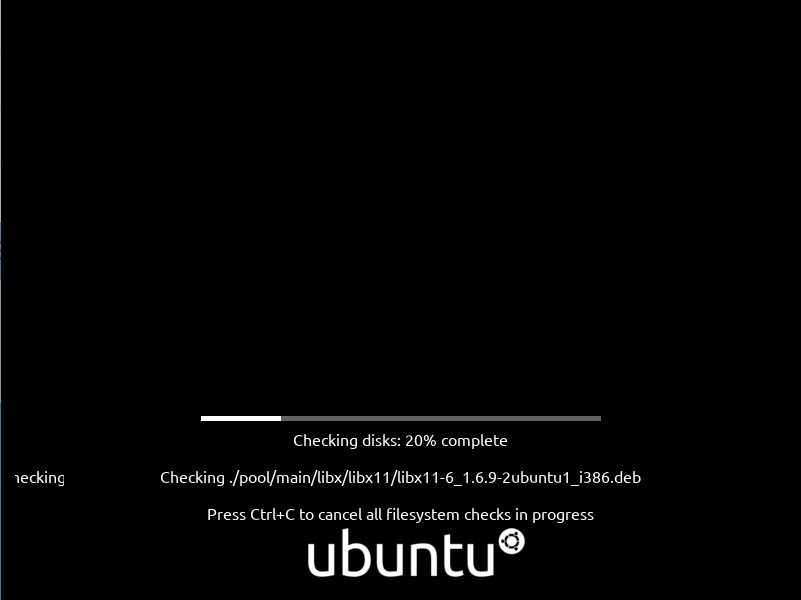
5. Loading
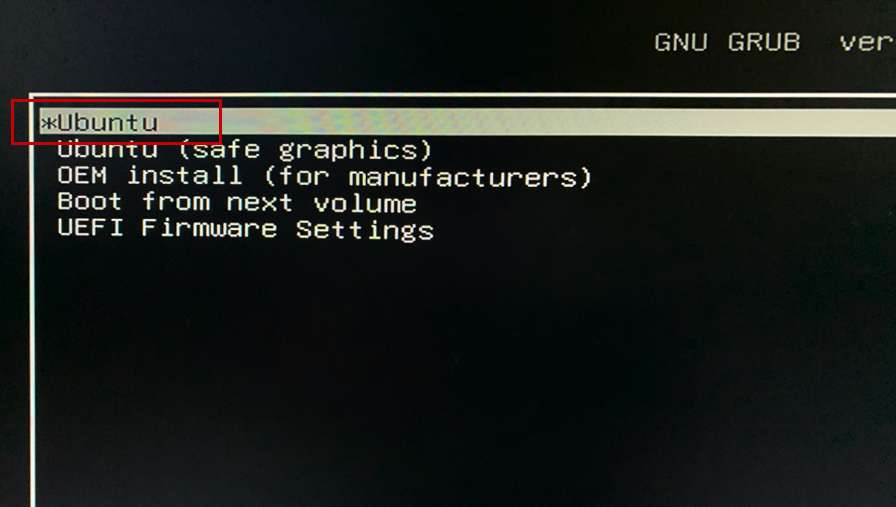
6. Select *Ubuntu (by default it’s selected)
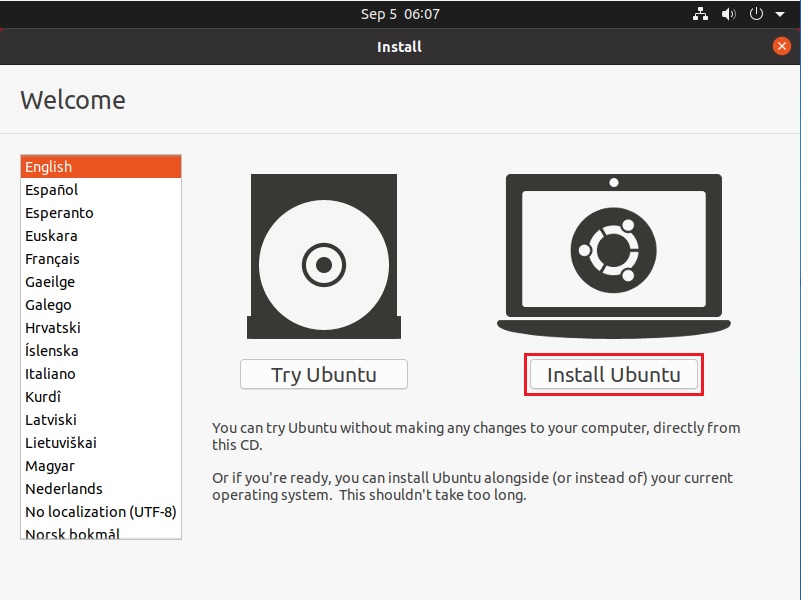
7. Select your Language > Click Continue
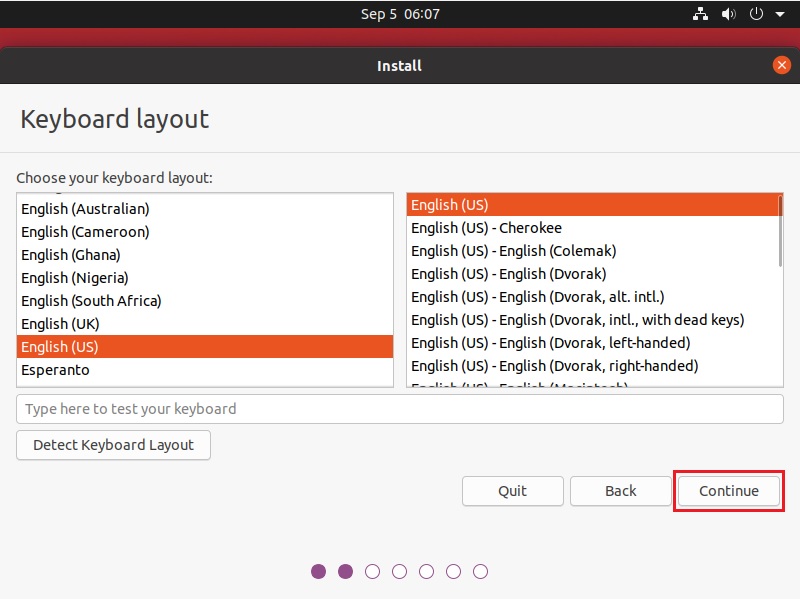
8. Select Default Keyboad layout > Click Continue
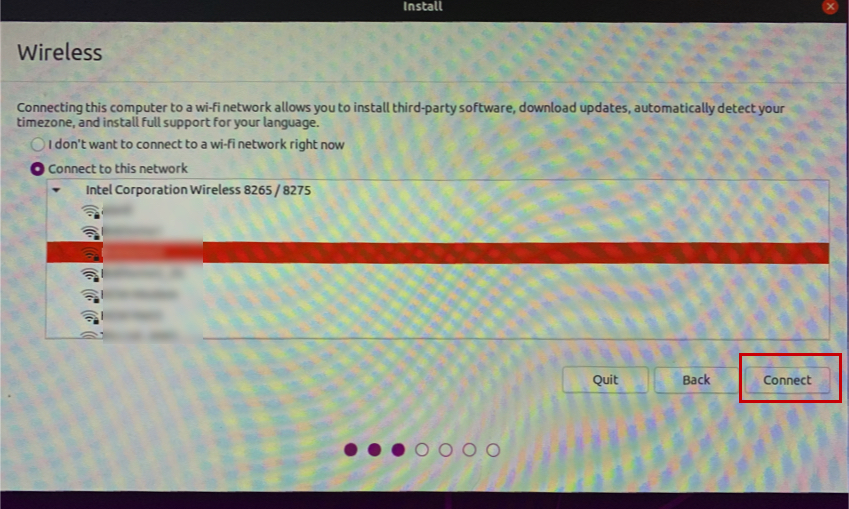
9. Connect to your Network
> In this example we will connect to Home Wireless > Click Connect
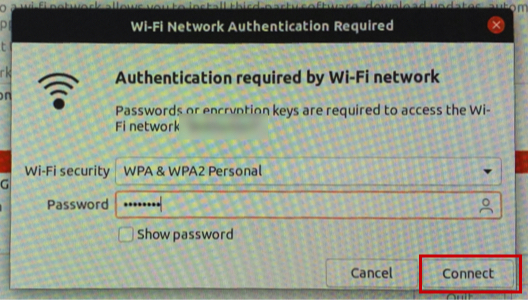
10. Put your Wifi Password > Click Connect
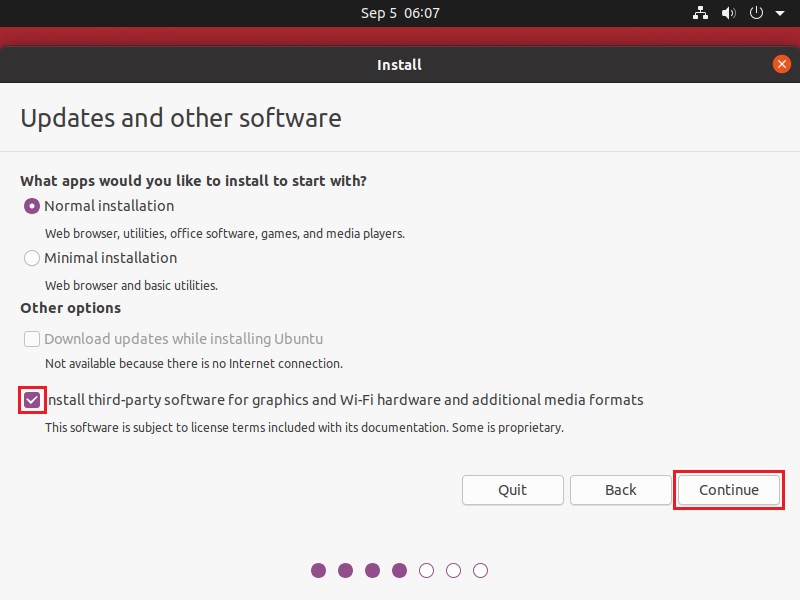
11. Select Normal Installation > Tick “Install third-party software for graphics and Wi-Fi hardware and additional media formats” > Click Continue
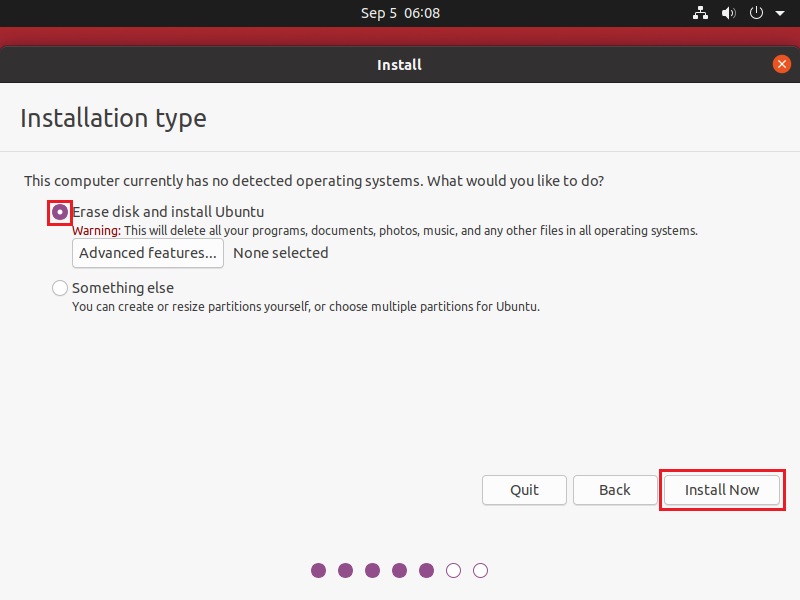
12. Warning: Once you erased the Disk, this process cannot be reversed.
If you are not sure about this step, please don’t continue
> In this Example, we are using brand new SSD Hard Drive, we need to erase the entire Disk for
maximum performance.
> If you have old Hard Drive with Multiple Partition, make sure you know how to properly select them, to avoid accidental loss of your data.
> If you are still on doubt, please backup all your entire Hard Drive to a separate physical backup Hard Drive before continuing to this process again.
Select Erase Disk > click Install Now
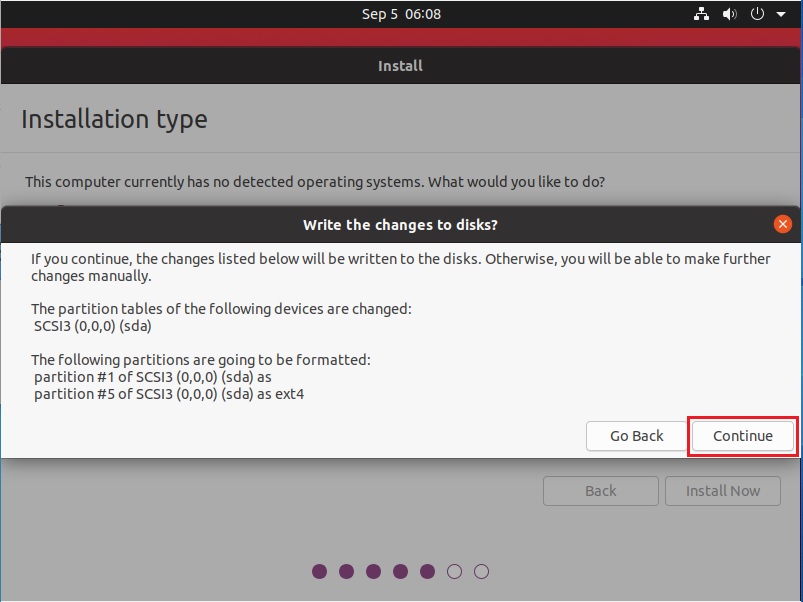
13. Warning alert:
> If you understand, Click Continue
> Otherwise, Please Go Back
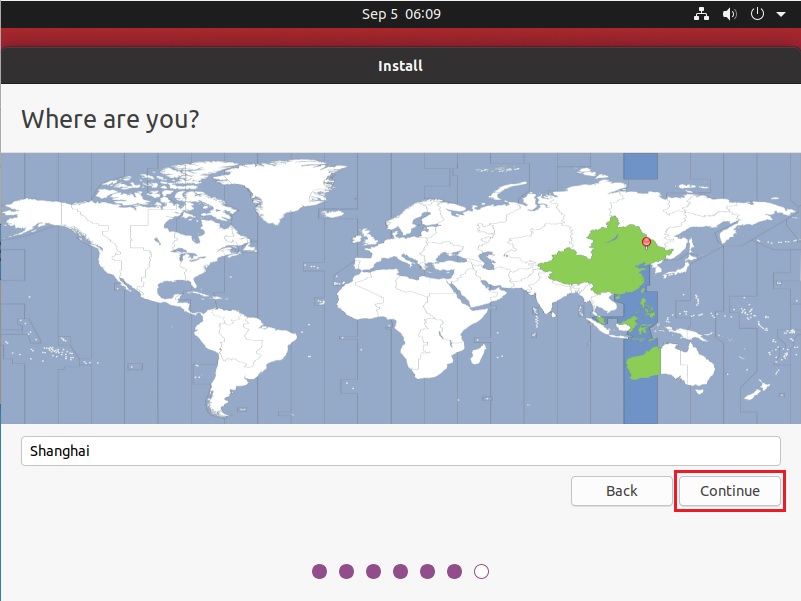
14. Select your Region and Click Continue
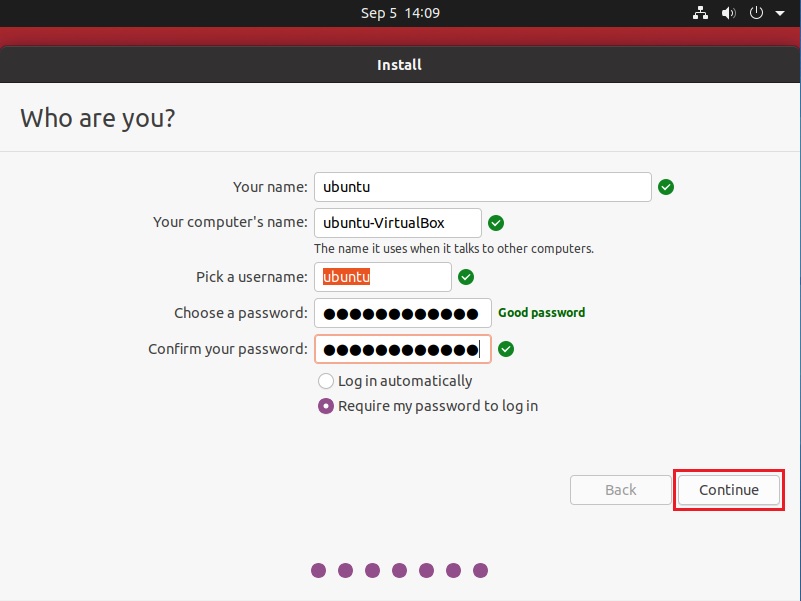
15. Put your preferred Name, Computer Name/Hostname, Username and Password
> Click Continue
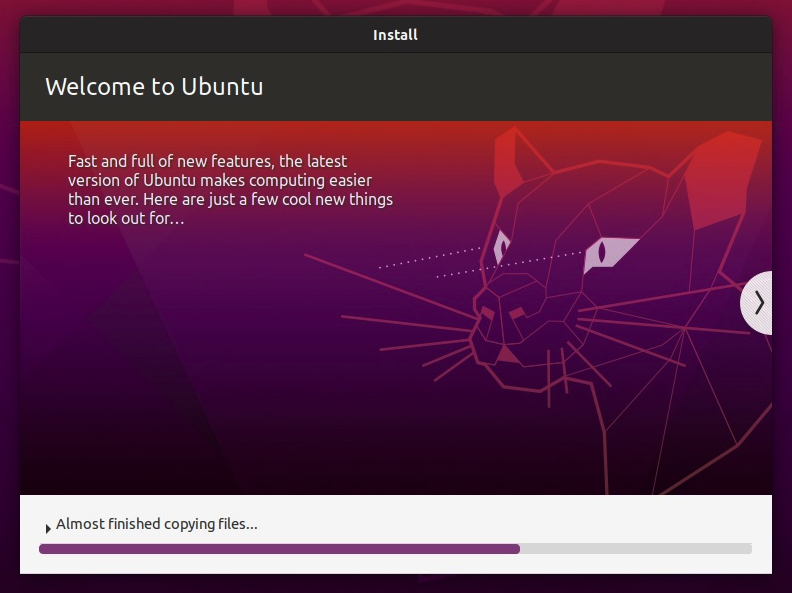
16. Installation process normally takes around 20 mins.
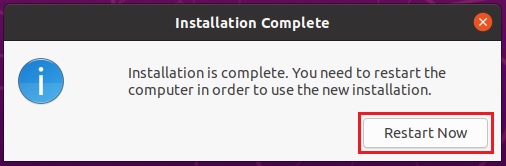
17. Installation Completed > Click Restart Now
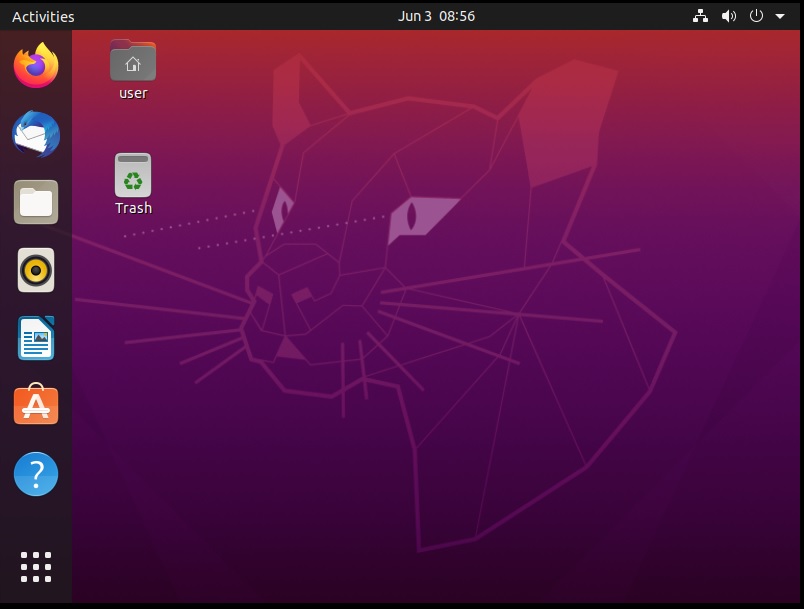
18. Done > First Login
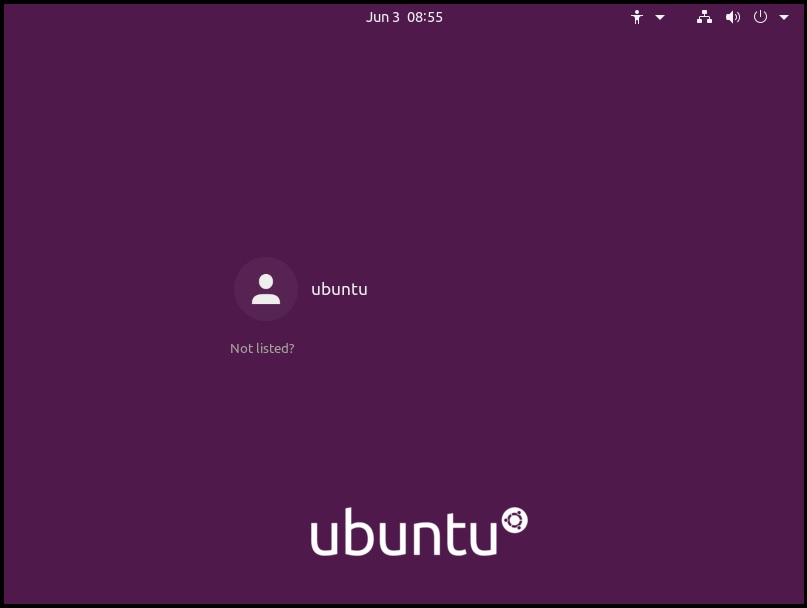
19. This is the New Look of Ubuntu 20.04

This Part is the Post Installation Process:
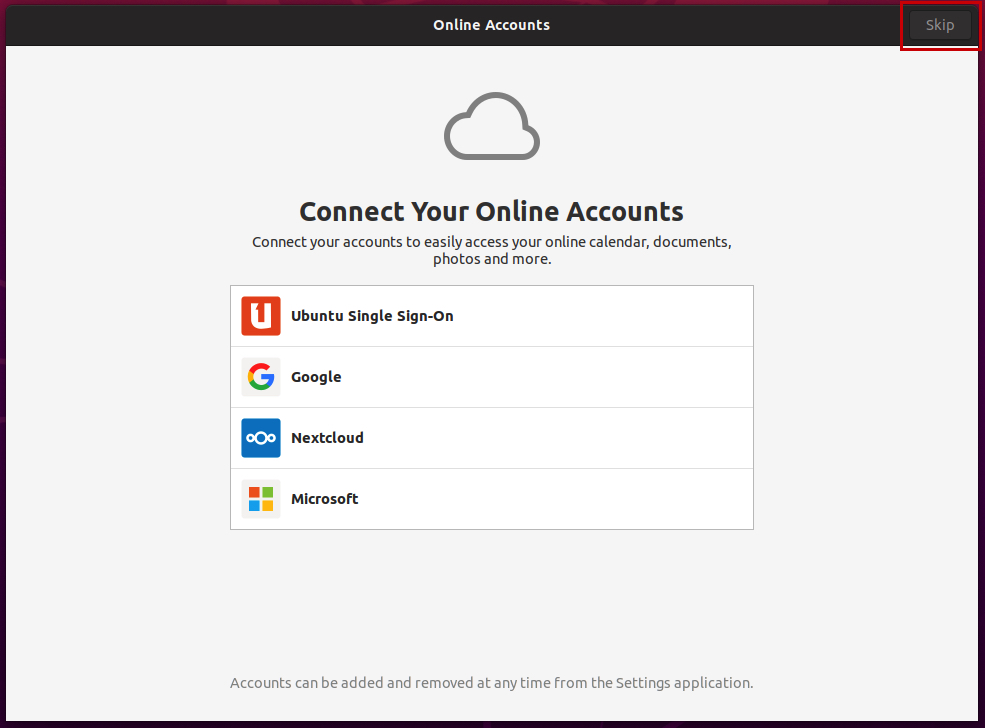
20. Click Skip
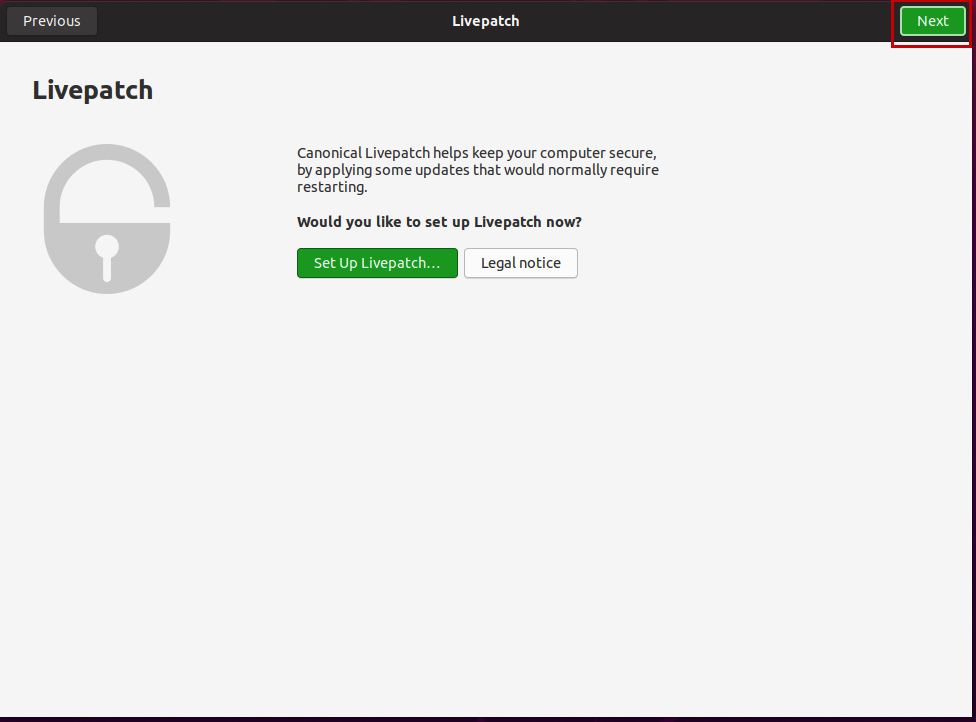
21. Click Next
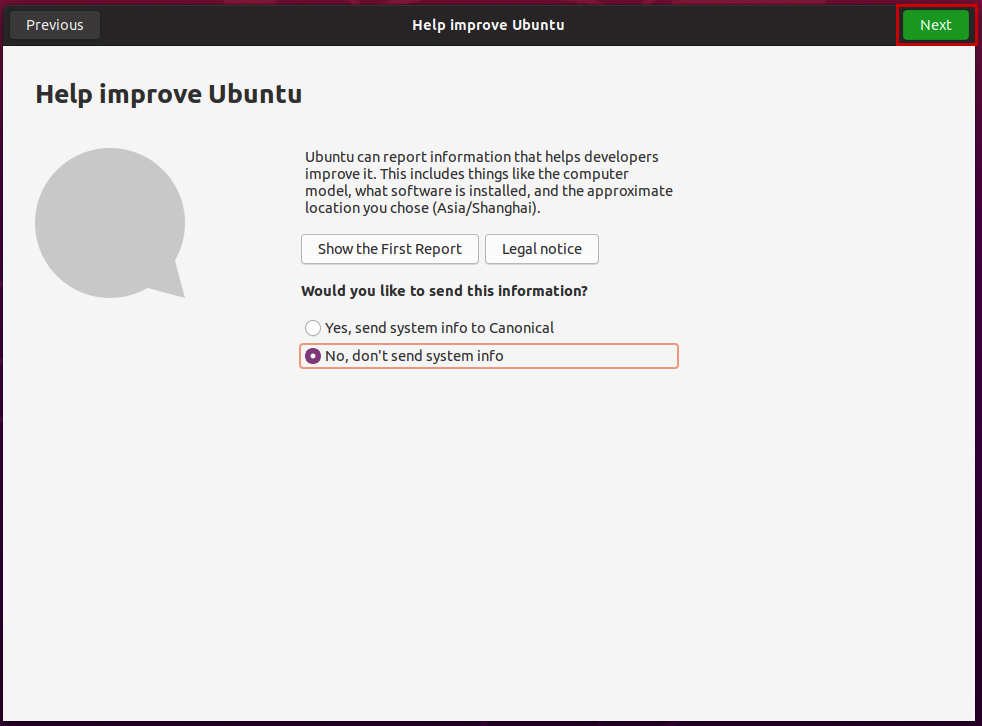
22. Select No, don’t send system info > Click Next
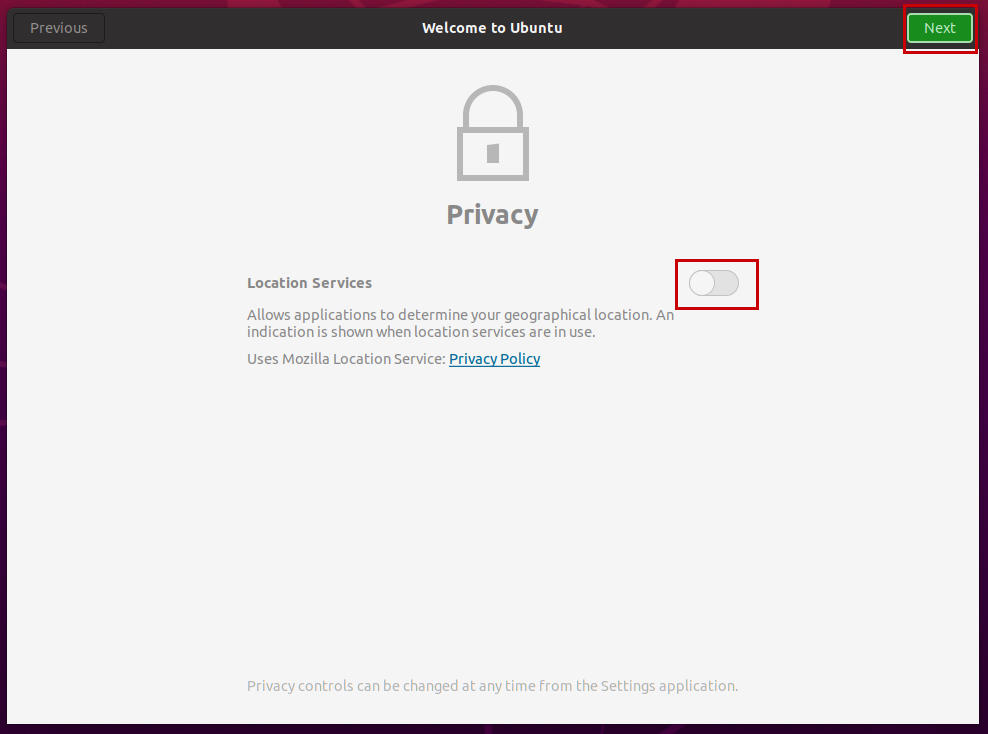
23. You may disable Location Services > Click Next
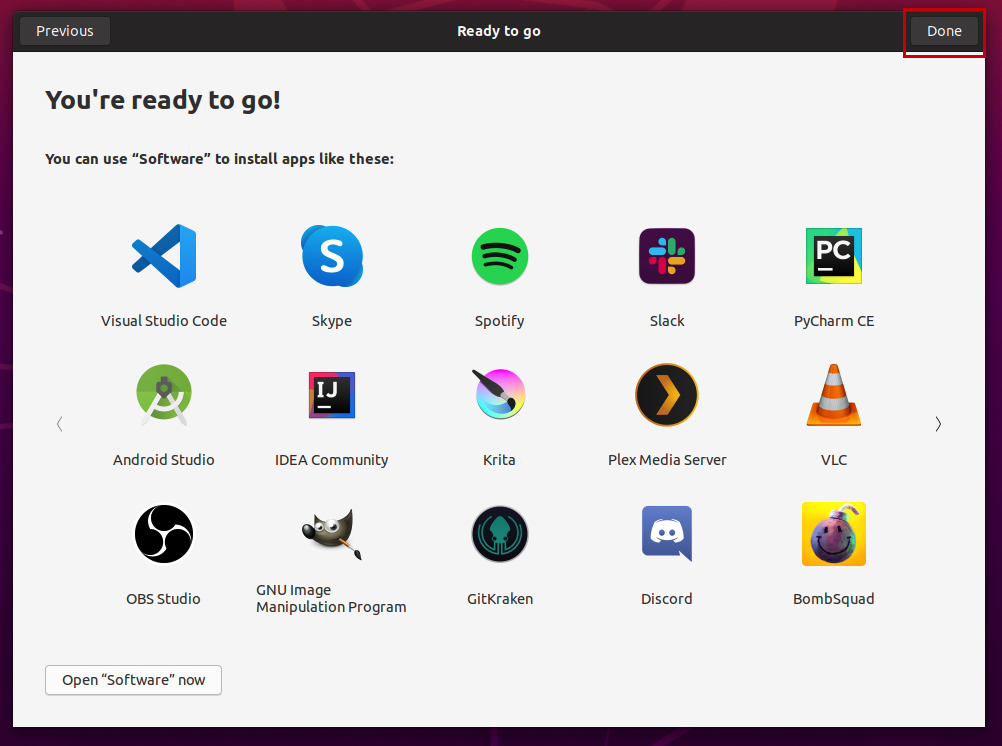
24. Click Done
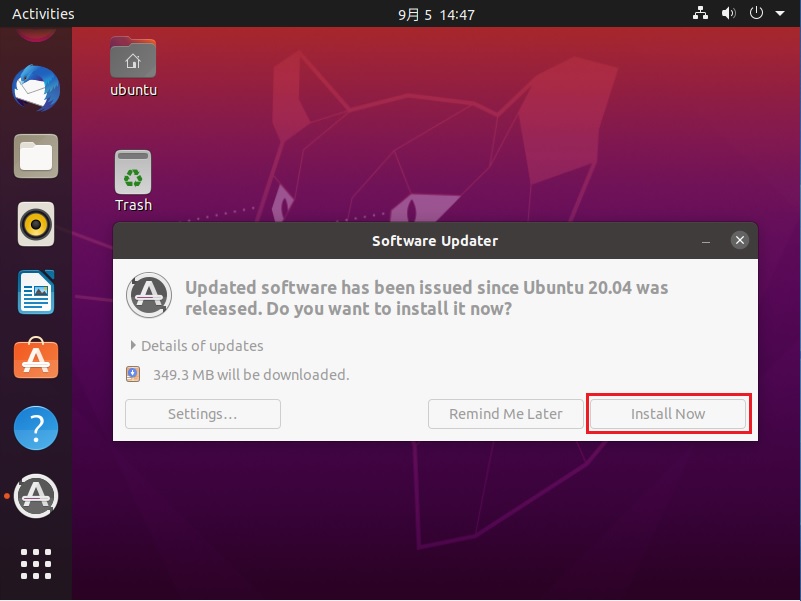
25. Software Updater will Automatically Appear > Click Install Now
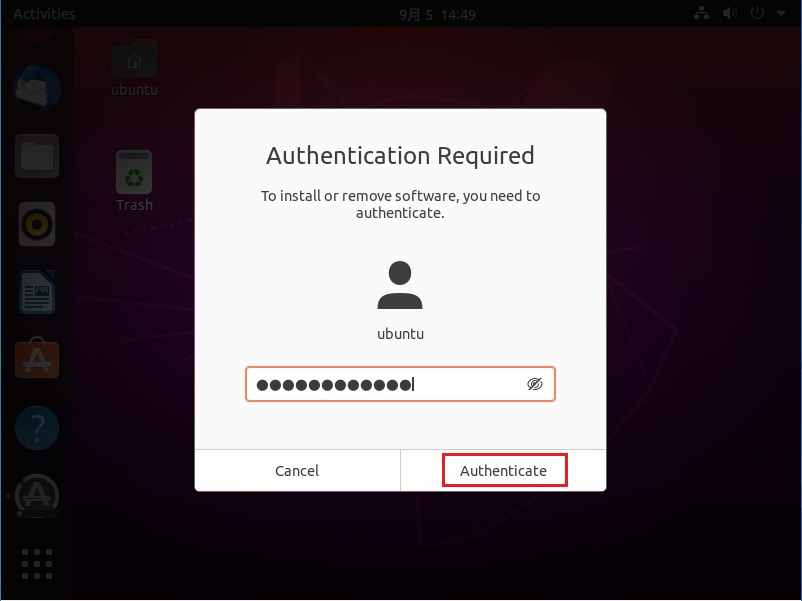
26. Input your Password > Click Authenticate
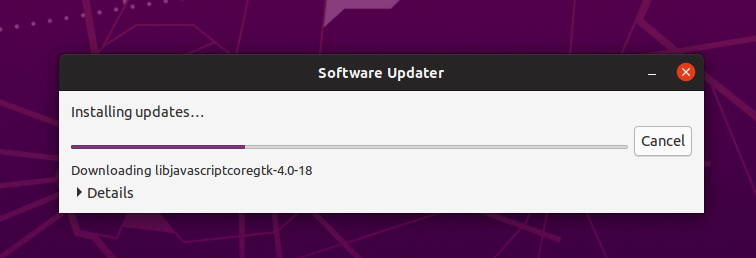
27. Updating in progress
28. Finally, click Restart
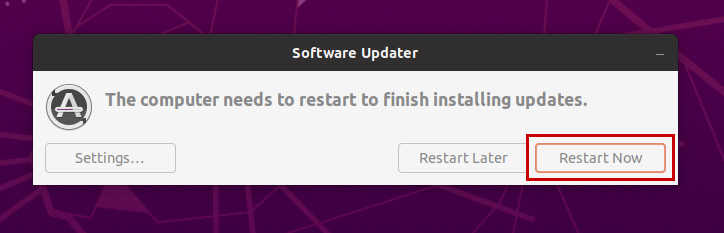
29. All Done
Actual Video Guide: